Virtual Lard 7: Last Stand at Fabrika Bezdel'nikov
After taking a bit of a self-enforced break from wargaming at the end of August, I was fortunate enough to snag two games at Virtual Lard 7, hosted by the Too Fat Lardies (makers of Chain of Command, Sharp Practice, etc) community. This is the first of those, a Chain of Command game set on the eastern front during the late summer of 1941.
As I've discussed previously on this blog, these games, hosted virtually through various video-conferencing apps, were the community's answer to the pandemic. For me, though, they've given me a great chance to play games with members of the Lardy community in the UK and elsewhere that I never would have gotten otherwise.
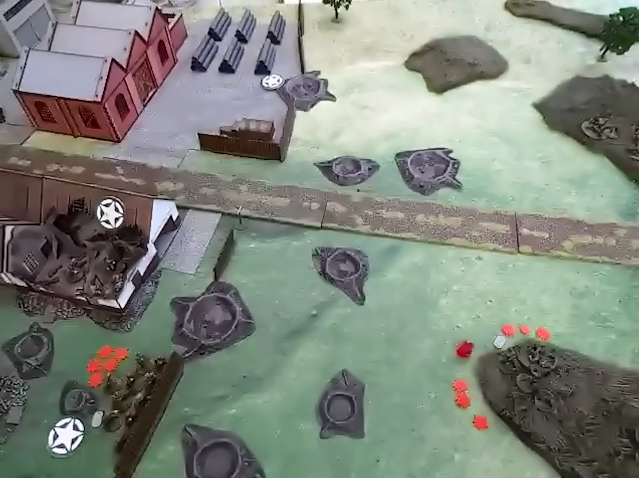
In this scenario, the Germans are tasked with advancing quickly across the steppe (shown above on right) and reducing a pocket of Soviet stragglers held up in the factory complex.
To accomplish this, they'll have a three-squad infantry platoon with its light mortar team, plus a tripod-mounted MG-34 medium machine gun, an SdKfz. 251 halftrack mounting an MG-34, and a Panzer IV Ausf. E.
Myself and another player, Stu, split the command, sharing five command dice and the special "red" die from the CoC 1940 handbook, which allows a chance at an additional activation. I took primary command of the infantry platoon, since I had more experience with the ruleset and have some experience attacking with the early-war German infantry, although sometimes in strange locales and not always with success.
We did not know what the Soviets had at their disposal, except that it was supposed to be rag-tag. Nevertheless, they have a lot of hard cover and we had a lot of ground to cross.
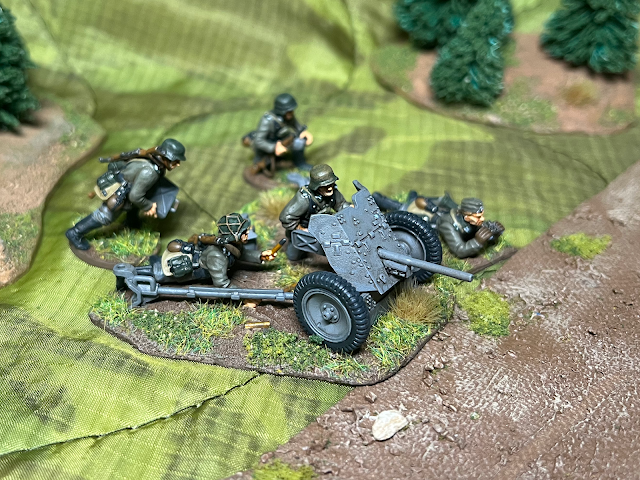
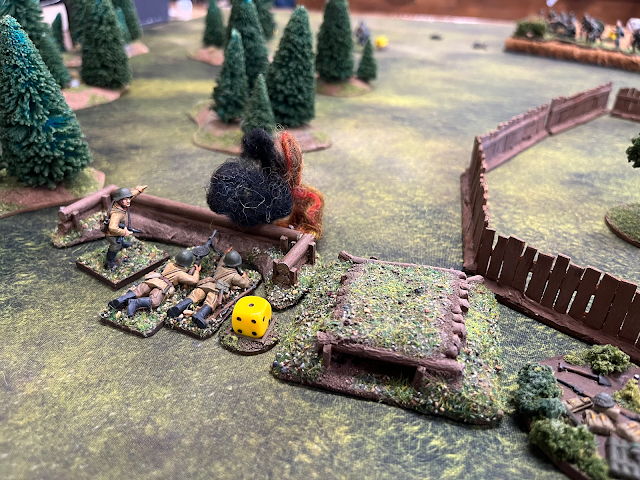
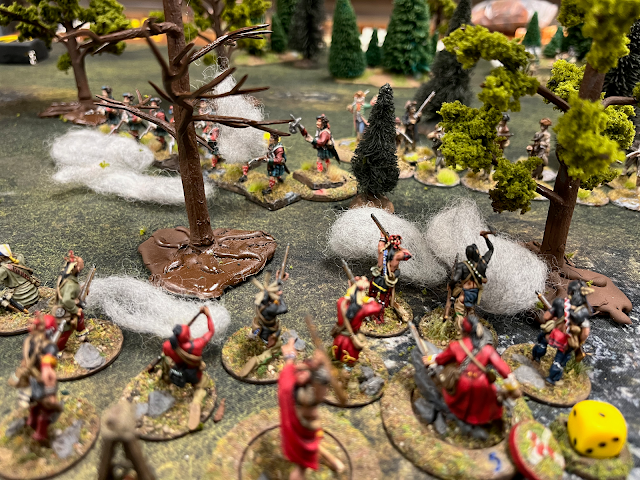
Lastly, you'll have to excuse the somewhat low-quality photos from this game and the other Virtual Lard offering. The hosts do their very best, but there are still limits on camera quality and the angles they can show us. The higher-quality photos above were provided by Karl, our game organizer, in the briefing.
We knew the patrol phase was going to be important, and with three free patrol moves, I had every reason to do well and put the pressure on the Soviets. Nevertheless, they played aggressively and held the German patrols further back from the fence line outside the factory than we would have liked.
We had another Jump Off Point further back, but these are the relevant ones. We did have higher Force Morale, though, with 11 to the Soviets' 9. Now all we had to do was punch through and get two units off the enemy table edge.
We judged that the Soviets' right flank, though further from our table edge, was more vulnerable because it could not be easily supported by the opposite flank. The central building had windows facing the open industrial yard on their left, and we judged that to be a killing field.
We had our well-drilled German troops deploy from their road march toward the factory, slipping off into the cover of the scrub brush on either side of the road. They deployed by the numbers, with a maneuver squad deploying on overwatch opposite the Soviet right, while the platoon's leutnant set up with the light mortar and MMG teams to provide a base of fire that could cover the fence and the central building.
The Soviets were swift to respond, revealing a Maxim MMG and a squad of worker's militia in the central factory building. They fired at the German infantry squad and traded shots with the weapons teams, but only a few points of shock were exchanged. Nothing serious yet.
However, a squad of Soviet regulars popped up along the fenceline and opened fire on the advancing Germans. They have been reduced by a couple of men due to their hurried retreat before this battle, but they respond to the motherland's call admirably.
A blistering firefight plays out over the next few phases. The first Soviet volley kills two men in the German rifle squad and puts shock on them, but return fire from the Germans and the weapon teams pour shock back on the Soviets and wound their Junior Leader, knocking Soviet Force Morale down to 7.
A Soviet commissar arrives in the nick of time, randomly activated by a Soviet command dice roll. He stinks of vodka and is unsteady on his feet, but rushes to the Soviet infantry who have the most shock. He counts as two men for shock purposes, making them stand firm.
However, the Soviet squad at the fence is being used as bait, in some ways. The Soviet starshina hurries into the central factory building and directs the fire of the Maxim and the workers militia, laying a murderous fire on the leading German squad. Several are killed, the Junior Leader is wounded, and the squad is pinned, stopping the German advance in its tracks. German Force Morale drops two points, to 9.
Speaking of tracks, the German Panzer IV deploys off the back table edge. We have been concerned about a Soviet anti-tank gun hidden in the shelled factory buildings, but decide that we can't wait to get the powerful support fire the tank can offer us. For the moment, it focuses on reducing the Soviets in the factory building, but even with its HE shells hurtling into the building, it's slow going.
In the next Soviet phase, a single '6' on the command dice triggers a random activation for the commissar, who momentarily forgets his duty and, influenced by grain alcohol, has a seat on a nearby ammo crate and practices his accordion-playing. He no longer provides his morale benefit to the Soviet squad near him, giving the Germans a chance to break them.
It's not to be, though. In the same phase, Soviet fire breaks the lead German squad and wounds the Junior Leader again, knocking him out. They flee 12 inches toward the rear, and the cumulative effect of the morale penalties brings German FM down to 6.
Moreover, the Soviets have their own tank, which deploys at their rear on the central road. It can't see anything for now. Ironically, we're a bit relieved to see the tank instead of an AT gun. While the T-26 has a respectable gun, we figure that we could destroy it in one or two good shots with our Panzer IV, instead of having to grind down a dug-in AT position over many phases.
The tank is actually the least of the Germans' worries, however, as they're still trying to break the dogged Soviet infantry. With help from the Panzer IV and a second squad of infantry, they manage to pin the Soviets at the fence, then kill their Junior Leader, which breaks the squad. The effect of the killed leader reduces the Soviet FM to 5.
By this point, the attack has well and truly bogged down. The Maxim and militia in the building have taken very little in the way of shock or casualties, and the Soviet platoon sergeant there has directed their fire effectively, whittling down not only German infantry but also the MMG and mortar teams that are supposed to be suppressing them.
A turn end routs the broken German squad and their twice-wounded Junior Leader, pulling German FM down to 3. Neither side has been rolling well on their Bad Things Happen roll.
The German leutnant has been doing an admirable job of directing the fire of the MMG and mortar teams, but Stu's dice have been failing him, and the Soviets benefit from hard cover. By now, the T-26 rolls up and over a couple phases wipes out the MMG team, reducing German FM to 2.
The Germans have a brief respite when they break the Soviet Maxim team, but they've more than done their work.
The militia has held their ground, and the arrival of another squad of Soviet regulars, along with the destruction of the German light mortar team, seals defeat for the Germans.
---
This was an entertaining and challenging scenario. The forces are fairly straightforward compared to some of Karl's other wacky scenarios, but the assault on the factory grounds provides a tough nut to crack. The Germans (in theory) have much more firepower, while the Soviets have heavy cover to doggedly cling to.
Karl said that during scenario testing, he had seen the scenario go either way. I know that on the day of Virtual Lard, they ran it twice, and the Germans lost both times. We discussed how the Germans were on the back foot from the patrol phase in our game. I agree, and Tom on the Soviet side definitely outplayed me there. It was suggested that the Germans should attack on a wide front to overwhelm the Soviets, instead of focusing on one flank like we did, but I think that would have exposed us to even more fire.
One thing that definitely worked against us, and could have been avoided with a different deployment strategy or a better patrol phase, was my failure to get more than one German squad firing at once. We did bring in a second infantry squad, but all it did was replace the first one when it got shredded. This piecemeal attack simply did not work. We had good command dice rolls early in the game, so we should have done better here.
My plan is to post my afternoon game from Virtual Lard 7 here soon, but you might see something else before that. You'll have to stick around and see.


Comments
Post a Comment