It's 1941, and the Germans are driving toward Moscow at a pace that even has Comrade Stalin a little nervous. Here, on one of the many roads to Moscow, a Soviet platoon is tasked with destroying vital supply caches before retreating to deny them to the fascist invaders.
The game is Chain of Command and the scenario is a modified version of 'Going with a Bang' from the 1940 handbook. I'm commanding the Soviet infantry platoon, and my opponent has chosen a German motorcycle recce platoon to try and zip across the board and secure the caches of fuel and ammo I'm tasked with destroying. Soviet Force Morale started at 10 and the Germans at 8. They must be feeling the effects of the first snowfall.
In the table overview, you can see the end of the patrol phase. I rolled well for the placement of the objectives, both closer to my end of the board, and played a pretty strong patrol phase, keeping the Germans out of the village and crossroads.
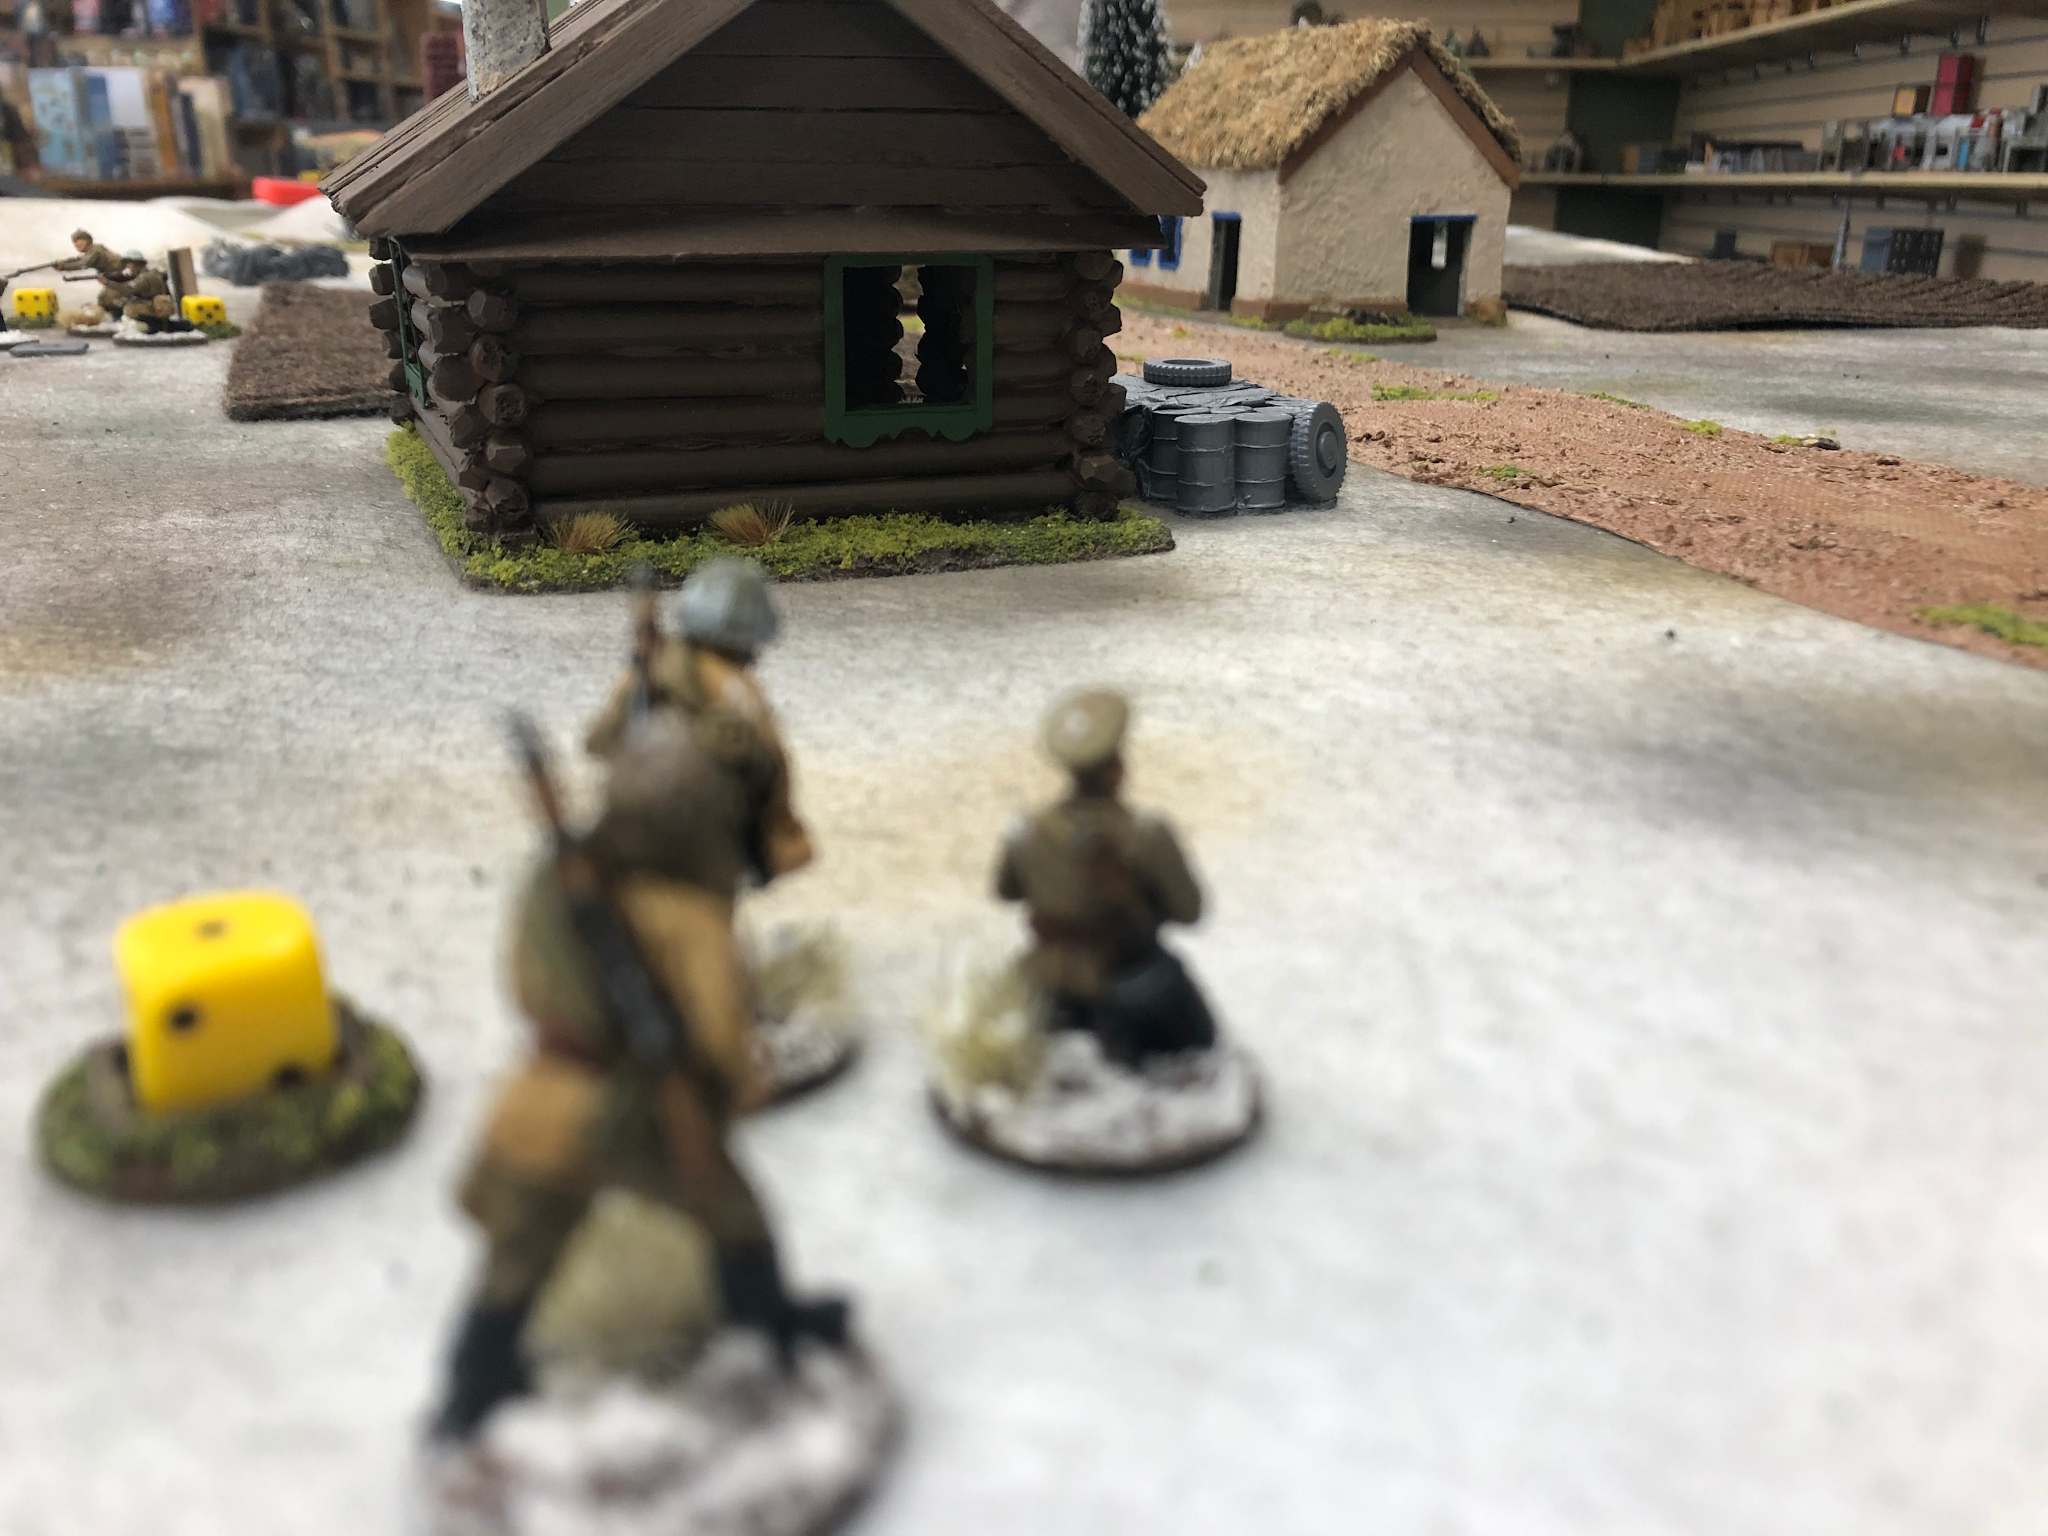
One supply cache is located in the woodline, the other outside a cabin on the main road. These are made to fit in the back of my Opel Blitz trucks as cargo, but they serve just as well as markers for ammo and fuel dumps. This scenario usually calls for culverts or bridges, but I've seen it played with supplies to blow, and my opponent and I agreed that this worked quite well.
The Soviets got Jump Off Points behind the two forward-most houses and one in the treeline near the ammo cache.
The Germans had two in the patch of woods and one behind the bombed-out house.
As the game kicks off, the roar of BMW motorcycles cuts through the dull thud of a preliminary bombardment hitting Soviet lines. A squad of German kradschutzen tears up the road, nearly reaching the crossroads from the table edge in a single move order.
A second squad takes up overwatch positions in the remnants of a bombed house, watching toward the little Soviet village.
In the Soviet phase, a 3-man demolitions team comes on behind the white house, but a squad is unable to make it through the barrage. The scenario gives the defender one demo team to start with, but I purchased another to try and hedge my bets.
The German motorcycle squad pushes up a little further and then dismounts into the tall grass. We elected to let these troops move 1d6 in the same phase as they mounted or dismounted, which may not be allowed. Either way it had very little impact.
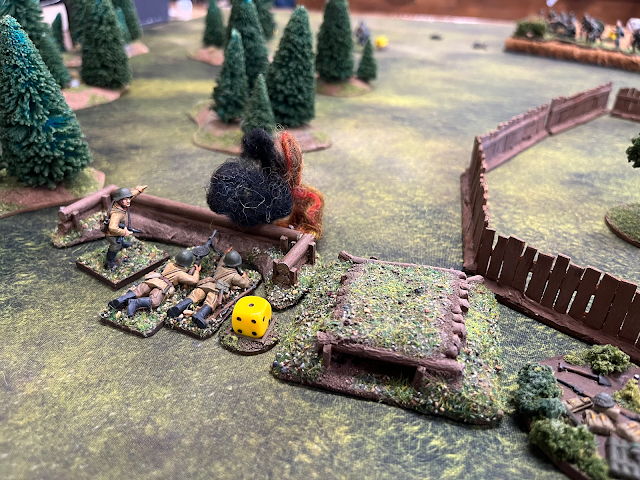
The German light mortar team deploys in the bombed house and lobs a round at the hapless engineers, who take one point of shock.
The third squad of Germans deploys in the trees on the Soviet right flank, on overwatch. You can see the German firing line setting up, but in my opinion, the motorcycle troops lost their nerve and stopped short of grabbing the front Soviet JOP before I could deploy in force.
The next Soviet phase is a double, but the only action is the arrival of a second demo team, who begin the process of setting charges on the ammo cache in the woods. We agreed to a task roll of 8 for setting these charges, and these engineers roll a 6 in their first activation, a good start.
Next, a Soviet squad deploys in a trench to one side of the building closest to the Germans, opening up on the dismounted kradschutzen and scoring a kill and a point of shock on the LMG team and two shock on the rifle team.
The German squad in the woods responds with overwatch, killing one Soviet rifleman. In the German phase, this squad fires again, putting two points of shock on the Soviets in the trench.
The motorcycle troops don't like their first taste of Soviet gunfire and scramble from the tall grass to remount their bikes and get out of the way, taking the road past the house. As they move, the German Senior Leader comes on and has the mortar fire to cover them. It scores no hits, however, and the officer has the nearest squad rush from the bombed building toward the crossroads.
A second Soviet squad makes its presence known, firing out of the windows as the motorcycle troops try to zoom past. Fortunately for the kradschutzen, who are counted as in the open, the Soviets only manage to apply two more points of shock to the rifle team.
The entrenched Soviet squad fires at the Germans in the woods to their right, managing four hits that result in a point of shock and a wounded Junior Leader, who is stunned for the turn. German Force Morale is, unfortunately, unaffected.
In the German phase, the mounted kradschutzen attempt to get out of the sticky spot they've found themselves in – by charging forward. They're headed for the ammo cache in the woods. I remember making some comment about how this seems like the least likely course of action for men under fire, but it is a game, after all.
The German light mortar fires at the entrenched Soviets but has no line of sight and scores no hits. The Germans in the woods fire at the same target, but their four hits have the same effect as the mortar – none.
The other German squad has more success, killing two Soviets in the house and putting a point of shock at them.
The Soviets roll up a double phase and an end of turn, which ends the German barrage and gets the leader of the German squad in the woods back on his feet.
The first demolition team gets a move on and reaches the fuel dump by the road, hoping to plant the charges in the second phase.
The Soviet squad in the trench turns and fires at the motorcycle troops, hoping to finish them off quickly. Unfortunately, they only manage to kill a rifleman and put a shock on the machine gun team.
At the start of the second turn, things are going alright for the Soviets. Both demo teams are at the caches and ready to set charges, and with only two squads on the table, they're keeping the entire German platoon at bay - for now. But the Germans still have support off the table, and the pressure is about to be on.
With this in mind, the demo team in the woods gets to work, successfully setting their charges.
The other demo team starts the process, rolling a 3 against the required task roll of 8. Not stellar, but no reason to panic, yet.
Both Soviet squads fire at the German squad in the tall grass that's advancing on the house, managing a kill on each team. The kills are nice, but the squad is still in relatively good shape and looking to fight.
The last Soviet squad comes onto the table in the wooded valley behind the ammo cache objective, hoping to protect those engineers from the advancing German kradschutzen.
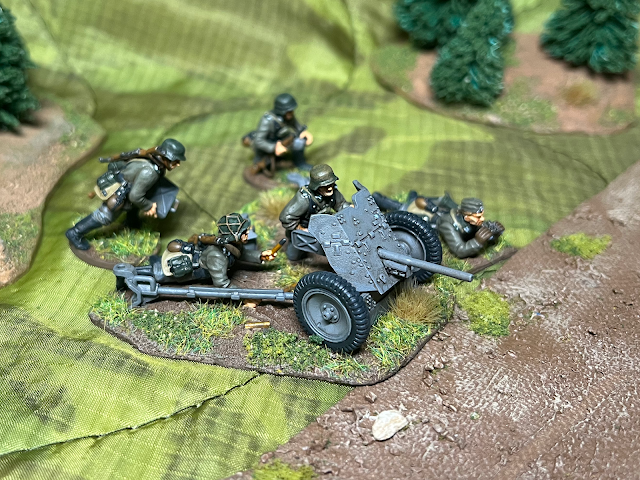
In the German phase, a 75mm infantry gun makes its presence known, firing at the Soviets in the house. The shell kills one and drops a point of shock on them. This fresh firepower is a big concern for the Soviet platoon.
The German infantry squad in front of them fires at the house, killing another Soviet and dishing out five points of shock. The two men killed last phase seem to have little effect on their combat effectiveness.
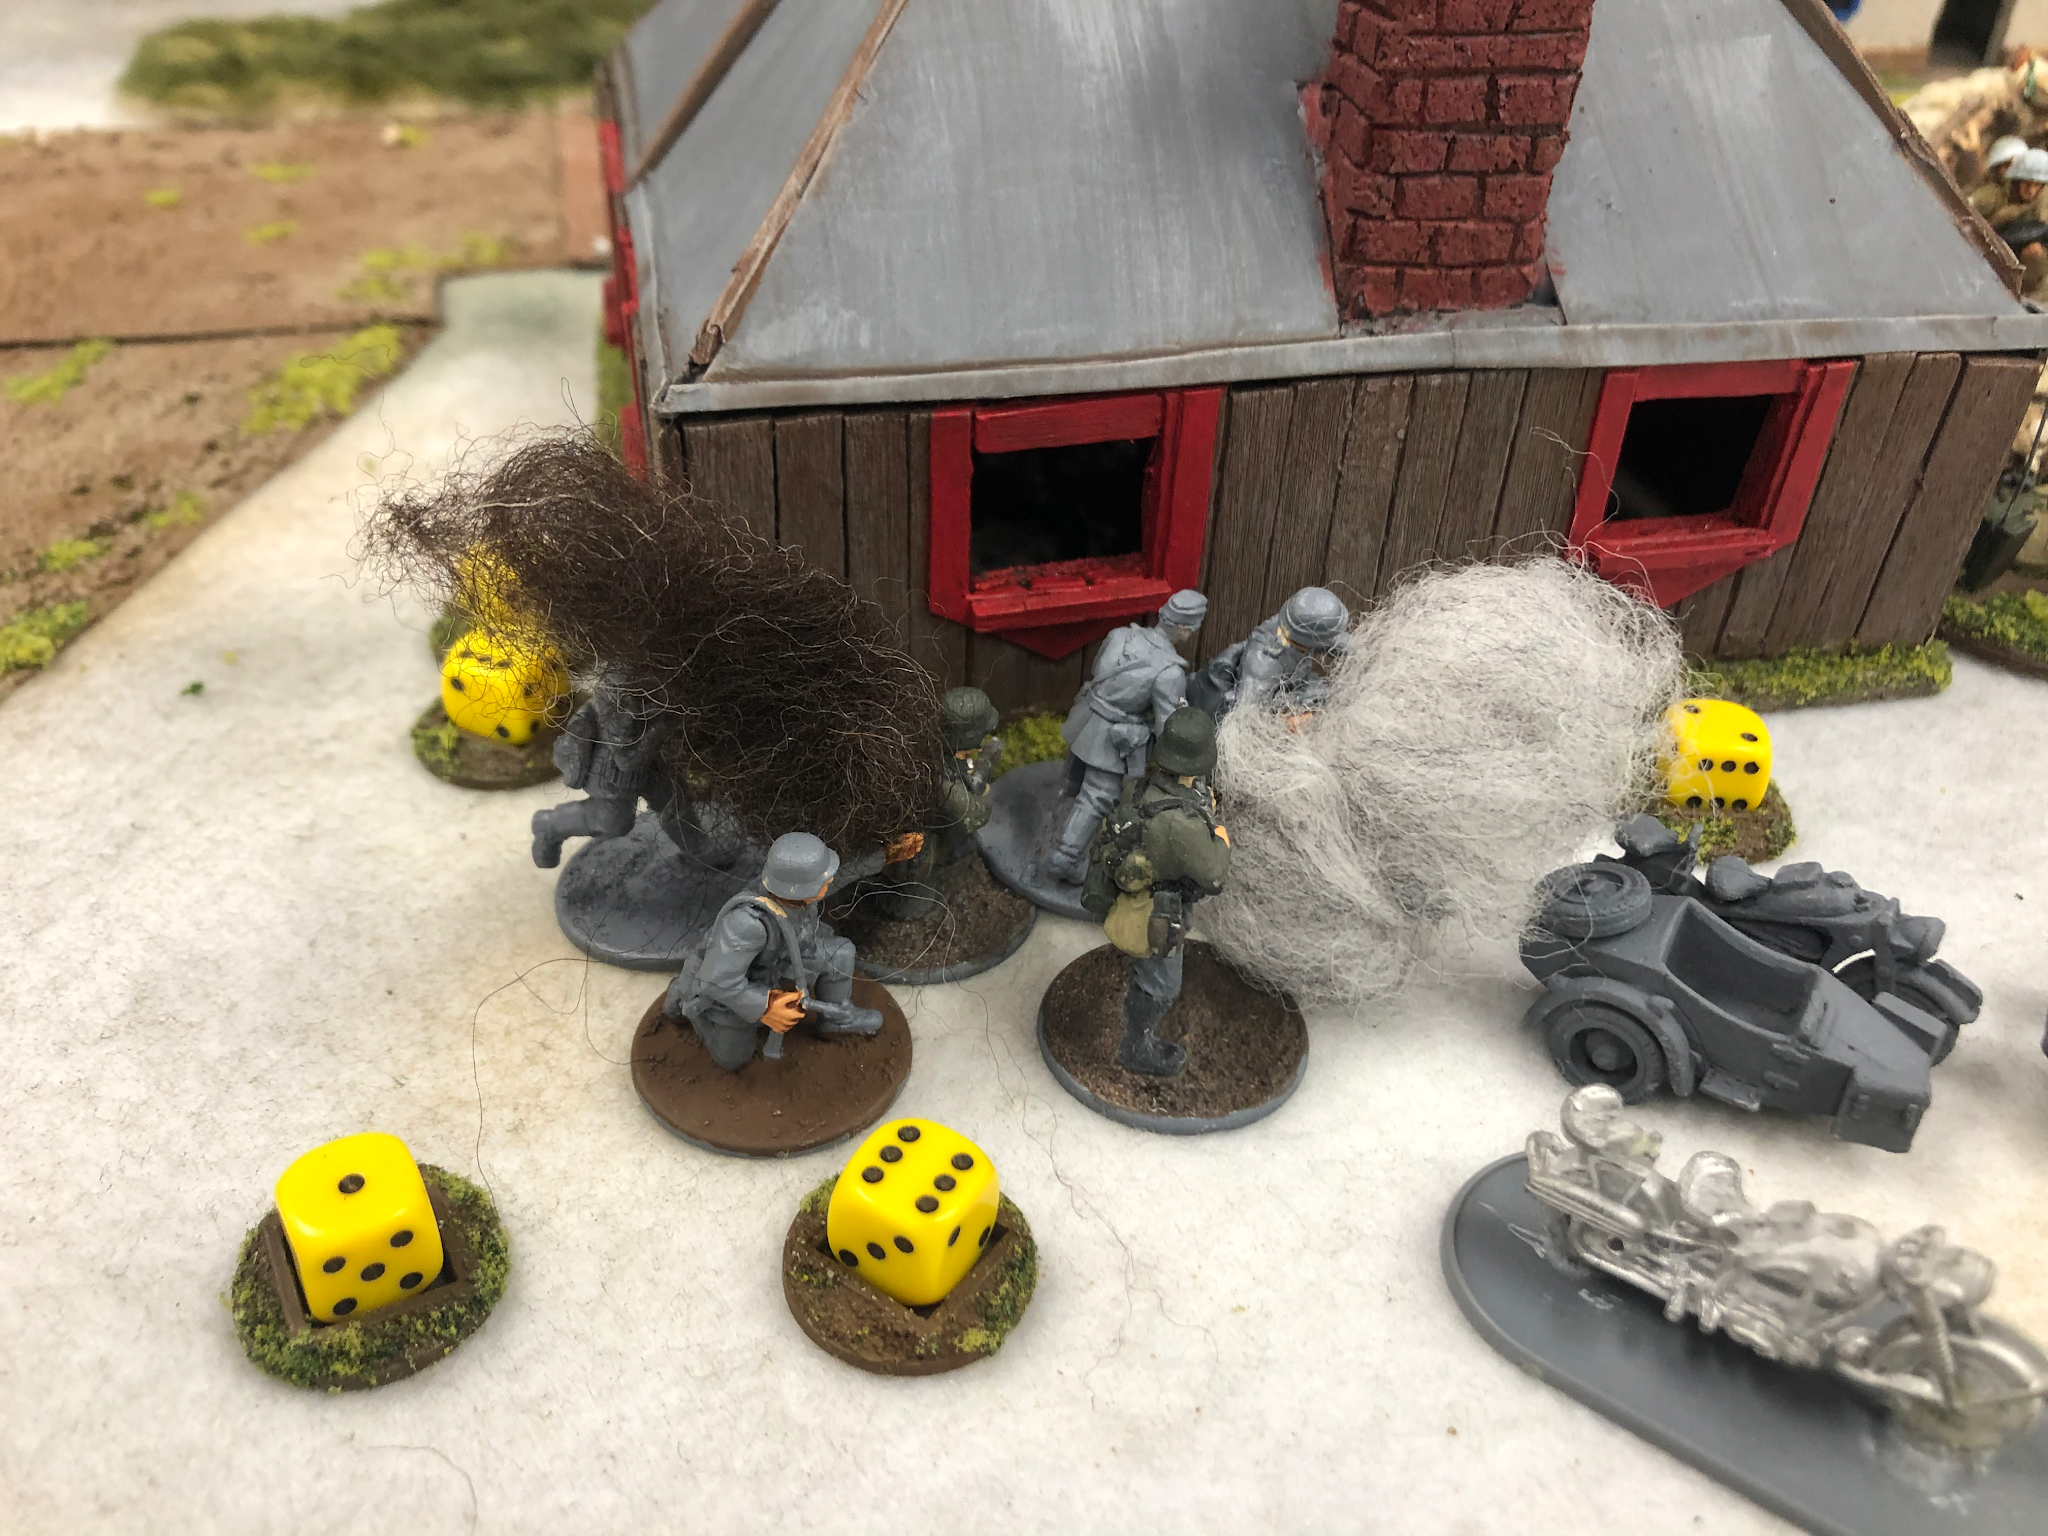
The German cyclists fall back and dismount with their backs to the house with red windows. They have a lot of shock on them and are dangerously close to the bulk of a Soviet platoon, but with the supporting fire from their platoon, they might have a chance.
The Soviets notice the uninvited guests outside their cabin and greet them with two grenades pitched out the window. It doesn't kill anyone, but it puts two shock on the rifles and one on the machine gun team, enough to pin them.
With the daring but perhaps foolhardy kradschutzen pinned down, the Soviets in the trench turn to face the German squad in the woods, firing at half effect after rotating and only managing a shock on the rifles. Their JL should be back on his feet, but we had forgotten to do that at turn end. It was corrected before too much longer.
The Germans get their chance to fire back, though, and the squad in the tall grass opens up on the Soviets in the house. The volley kills two Soviets and puts another two shock on them, pinning them. One of the men hit is the Junior Leader, who is stunned for the turn. Soviet FM drops two points to 8.
Before they can recover, both the light mortar and the infantry gun shell the house. The man killed and point of shock are enough to break the Soviets, and they flee from the house. This drops Soviet morale another two points, down to 6.
The machine gun from the Germans in the woods opens up, killing one of the Soviets in the trench before surrendering the phase.
In the Soviet phase, one demo team continues placing charges on the fuel cache, getting the task roll up to 5 of 8, while the other demo team gets back, trying not to be caught in the blast radius. Meanwhile, the Soviet Senior Leader comes on, commanding the reserve squad to get moving and relieve the pressure on the entrenched squad near the crossroads.
The German infantry gun hits the trench, putting a point of shock on while the light mortar tries to get into position where it can see the trench.
The German squad in the grass advances, hoping to prey on the broken Soviet troops as they flee, but they can't shoot past the pinned kradschutzen, despite my opponents insistence that the pinned troops would be on the ground and could be fired over - serves the bastards right for trying to shoot them in the back. They end up with their shock pulled off, I think by the SL behind them.
The Germans bring on their armored car - a very imposing FAI model captured off the Soviets. It fires down the road at the entrenched Soviets, but has no effect.
The Germans in the woods fire at the trench, killing another Soviet and putting a shock on. As the weight of the German fire is now able to focus on a single squad, things look a bit dire for the Soviets.
In the Soviet phase, the demo team on the road manages to finish placing their charge, putting pressure on the Germans to finish off the Soviets in the trench and get a move on. The entrenched Soviets fire defiantly at the Germans in the woods, but only put on one shock.
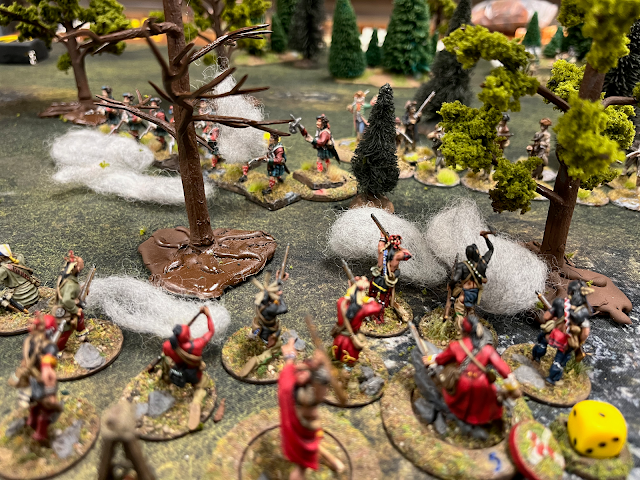
At last, the big moment has come - the Soviet platoon commander orders the engineers to blow the ammo cache in the woods. Hunkering down in the fresh snow, the demo man pushes the plunger on the detonator with authority. They all get down as there's a loud pop and a hiss... the charges have gone off, but only partially, failing to destroy the ammunition crates. An ominous trail of grey smoke drifts off into the trees.
The engineers hesitate, wondering if the explosion was merely delayed - but the platoon leader orders them to get up there and fix the charges immediately.
The Soviet leytenant also has the third squad advance to the edge of the woods on the ridge overlooking the crossroads. They line up the pinned kradschutzen in their sights and prepare to fire. Unfortunately, this also opens them up to fire from the German infantry gun and light mortar, which kill one man and put two points of shock on the Soviets.
With the arrival of the new Soviet squad, the unpinned Germans near the house fall back to the scrub brush as their allies in the woods unload on the trench, dishing out four shock. The armored car also moves up the road, but its machine gun fire on the trench has no effect.
In the Soviet phase, the demo team on the road gets back, preparing to blow the fuel dump. They don't get out of the danger zone, however, and at this point in the game, I don't think things are going badly enough for them to try any heroics.
The Soviets in the trees prepare to fire at the kradschutzen, but are rudely interrupted by fire from the Germans in the tall grass, who put two shock on the Soviets. When they do get to fire, however, they manage to lightly wound the kradschutzen's JL, dropping German Force Morale one point to 7.
In the Soviet phase, the entrenched squad tries to return fire, but with all the shock, it's unable to do any damage to the Germans in the trees. Fortunately, the engineers in the trees are able to carefully reset the charges on the ammo cache without issue.
The Soviet SL then advances toward the Soviet third squad, pulling a shock off of them before they take another rough of shooting at the kradschtuzen. This time, they kill two riflemen, wipe out the LMG team, and wound the JL, all with a point of shock to rub things in. The squad breaks, and the trio of Force Morale rolls drops the German morale to 3. This might be the time the Soviets need to pull this one off!
At the start of the German phase, the Soviets interrupt and have the demo team near the house to fall back a little further. It might be a wasted interrupt, but I have plans to finish this game with twin explosions on my next phase, and I need these engineers out of the blast zone.
With reduced command dice, the Germans still manage to fire their infantry gun, mortar, and a squad at the Soviets in the treeline, with each firing unit contributing one point of shock.
Next, the Soviets roll up a double phase. The SL has the demo team fall back from the ammo cache and then pulls shock off the third Soviet squad in the trees.
In their second phase, the Soviets are hoping for an explosive conclusion. They eagerly set off both charges - but both explosives have completely failed and need to be reset from scratch. Needless to say, this is a little disheartening.
With the explosives coming up short, the Soviet SL sets to work driving down the German Force Morale, having the Soviets in the treeline fire at the German squad in the tall grass, to no effect.

With the failure of the explosives, the Germans are looking to drive ahead and finish the Soviets. A squad, the mortar, and the infantry gun all fire at the entrenched Soviets, killing one and putting on four points of shock, enough to pin them.
The German squad in the tall grass fires at the Soviets on the ridgeline, putting on three shock.
In their phase, the Soviets keep fighting, despite the creeping feeling of hopelessness. The leader of the entrenched squad rallies off a shock and has his men fire at half effect at the Germans, managing one shock on the Germans in the trees.
The Soviet Senior Leader orders the disheartened demolitions team back to the ammo cache, then rallies a point of shock off the nearest squad and has them fire, although it has no effect on the Germans. Meanwhile, the other demo team moves back to the fuel cache to have another go at setting the charges.


Even with three command dice, the Germans manage a double phase and a 4, which is exactly what they need to get the SL firing all of their weapons.
The infantry gun and mortar fire at the pinned troops in the trench, but only manage one shock. The Germans in the tall grass do a little better, killing one man from the Soviets on the wooded ridge and putting a shock on them.
In their second phase, the Germans have another 4, letting them unload on the entrenched men. The light machine gun in the woodline opens up alongside the mortar, and the two shock are enough to break the Soviets and send them fleeing from the trench. The Soviets spend a CoC die to avoid taking the Force Morale roll, but it feels like just prolonging the inevitable.

With their main target fleeing, the Germans turn their attention to the Soviets in the woods. Fire from a German squad kills three men, pinning them, and the infantry gun throws on another shock for good measure.

The Soviets roll a double phase and an end of turn, which is a double-edged sword. The Soviet SL pulls shock off the nearest squad, which will have them unpinned, and gives the order to once again set the charges on the ammo cache. When the turn ends, the broken German kradschutzen flee the table, dropping German FM one point to 2. However, the two broken Soviet squads flee as well, dropping Soviet FM by three points to 3. The Soviet advantage in FM is melting away, and getting the charges set is looking increasingly unlikely.
In the second Soviet phase, the demo team only manages to get halfway through setting the charges.
The Soviets on the ridge fire at the Germans in the tall grass, killing two riflemen and putting two shock on the LMG team.
The damage isn't enough, though, as the German phase opens up by injuring the Junior Leader of the remaining Soviet squad, also dropping a point of shock. The injured leader drops Soviet FM by one point to 2. Before the JL can recover, fire from the light mortar kills another of his men and brings another shock, pinning the squad. German small arms fire rakes the pinned squad, wounding the JL again and leaving the squad broken.
The wound has no effect on the Soviet morale, but the break sends Soviet FM down to zero, ending the game.
This was a close and exciting game. As the Soviets, I think my plan was solid, but I was foiled by poor dice rolls on the demolitions work. Having the charges fail to go off multiple times was excruciating, as I watched the superior German firepower whittle away my forces. I think we both enjoyed the Going With a Bang scenario and would like to try it again.


 At the start of the second turn, things are going alright for the Soviets. Both demo teams are at the caches and ready to set charges, and with only two squads on the table, they're keeping the entire German platoon at bay - for now. But the Germans still have support off the table, and the pressure is about to be on.


 The damage isn't enough, though, as the German phase opens up by injuring the Junior Leader of the remaining Soviet squad, also dropping a point of shock. The injured leader drops Soviet FM by one point to 2. Before the JL can recover, fire from the light mortar kills another of his men and brings another shock, pinning the squad. German small arms fire rakes the pinned squad, wounding the JL again and leaving the squad broken.
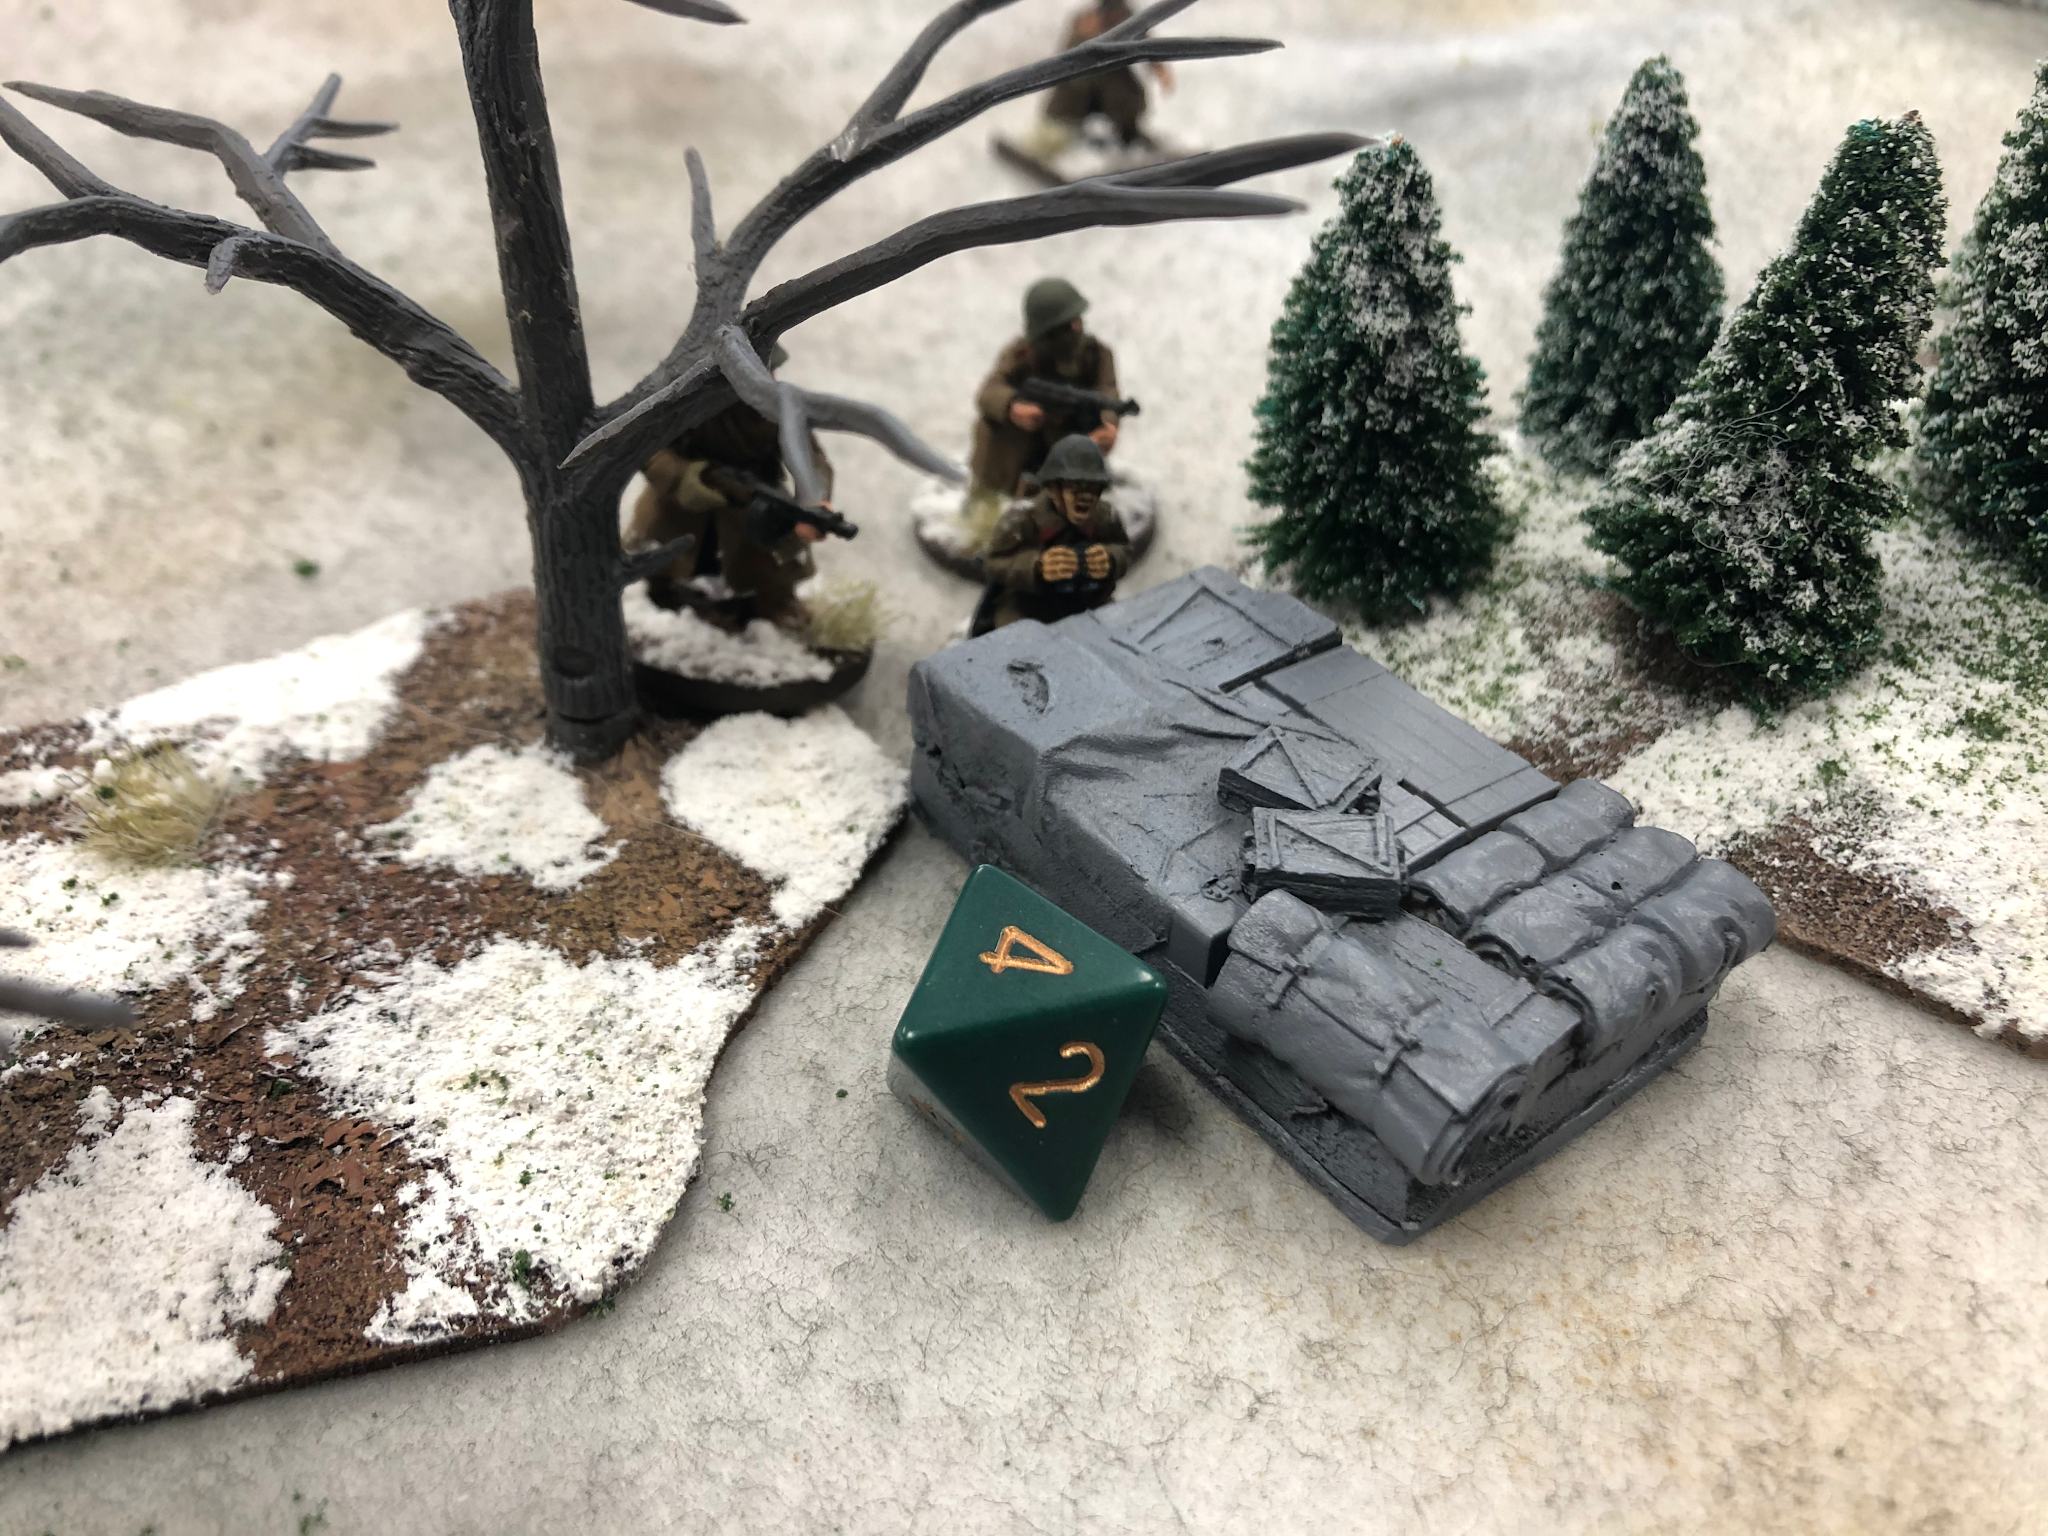

Comments
Post a Comment