Chain of Command in Stalingrad - Game 2
This is the second of two games I played on a Stalingrad-themed table at my local game store recently. You can find a battle report for the first game here. We used Too Fat Lardies’ WWII platoon-level ruleset Chain of Command. As with the last game, I trust you’ll forgive the occasional out-of-place terrain piece or unpainted miniature. Remember, I’m trusting you.
--
September, 1942, Stalingrad, USSR
Gefreiter Schmitt sat on a half-empty ammunition crate on the rear deck of his Panzer III E, his cloth-wrapped boots pushed against the purring engine to try and leech some warmth from it so he might feel his toes again. The young Berliner spat, rubbing his hands together idly, as he glanced up at the out-of-date vehicle he manned the radio and bow machine gun for. She was woefully out of date, not fit as a frontline tank since the invasion of France more than two years ago. But sure enough, command had pushed it into service to replace losses of the newer, nicer tanks.
There was some commotion to his right, where his tank commander was conferring with a ragged-looking infantry officer, deciding how best to approach the Soviet positions arrayed in front of them. This area had seen heavy fighting the day before, and Schmitt had heard that there was a Soviet heavy tank operating nearby. Christ, their 37mm popgun didn’t stand a chance against that monster!
Jarring him from his anxious thoughts, his commander clambered back onto the tank, barking for Schmitt to return to his position. Schmitt stubbed out his cigarette and begrudgingly maneuvered back to his spot, sliding down into the cold metal that could be his coffin one of these days. His hatch didn’t close right, the result of a Soviet anti-tank rifle bullet shattering the locking mechanism and bending the heavy metal door. The nasty Bolsheviks liked to hide them and shoot at visions slits, killing drivers and radio operators like him. God, Schmitt was scared of those things.
--
After our dynamic first game, my opponent wanted a second attempt at breaking through the Soviet defenses. Understandably, he wanted to try a different scenario, and we decided on scenario six: Attack on an Objective. This scenario is played along the length of the table, which made me a little wary, having to give up a lot of the territory I won in the last game if I couldn't play a strong patrol phase.
Naturally, I picked the worker’s settlement as my objective, since my men had defended it so well in the first game. This time around, both of us rolled a nine for force morale. Clearly the Germans were less than enthusiastic after the beating they took in the first game.
Frankly, the patrol phase went poorly for me. The Germans, as the attackers, got three free patrol moves, and they zipped down the table, catching me unaware and managing to lock two of my patrol markers that were stacked on top of each other as I tried to cover more ground. I ended up largely confined to the worker’s quarters and the large factory across the street. Not ideal.
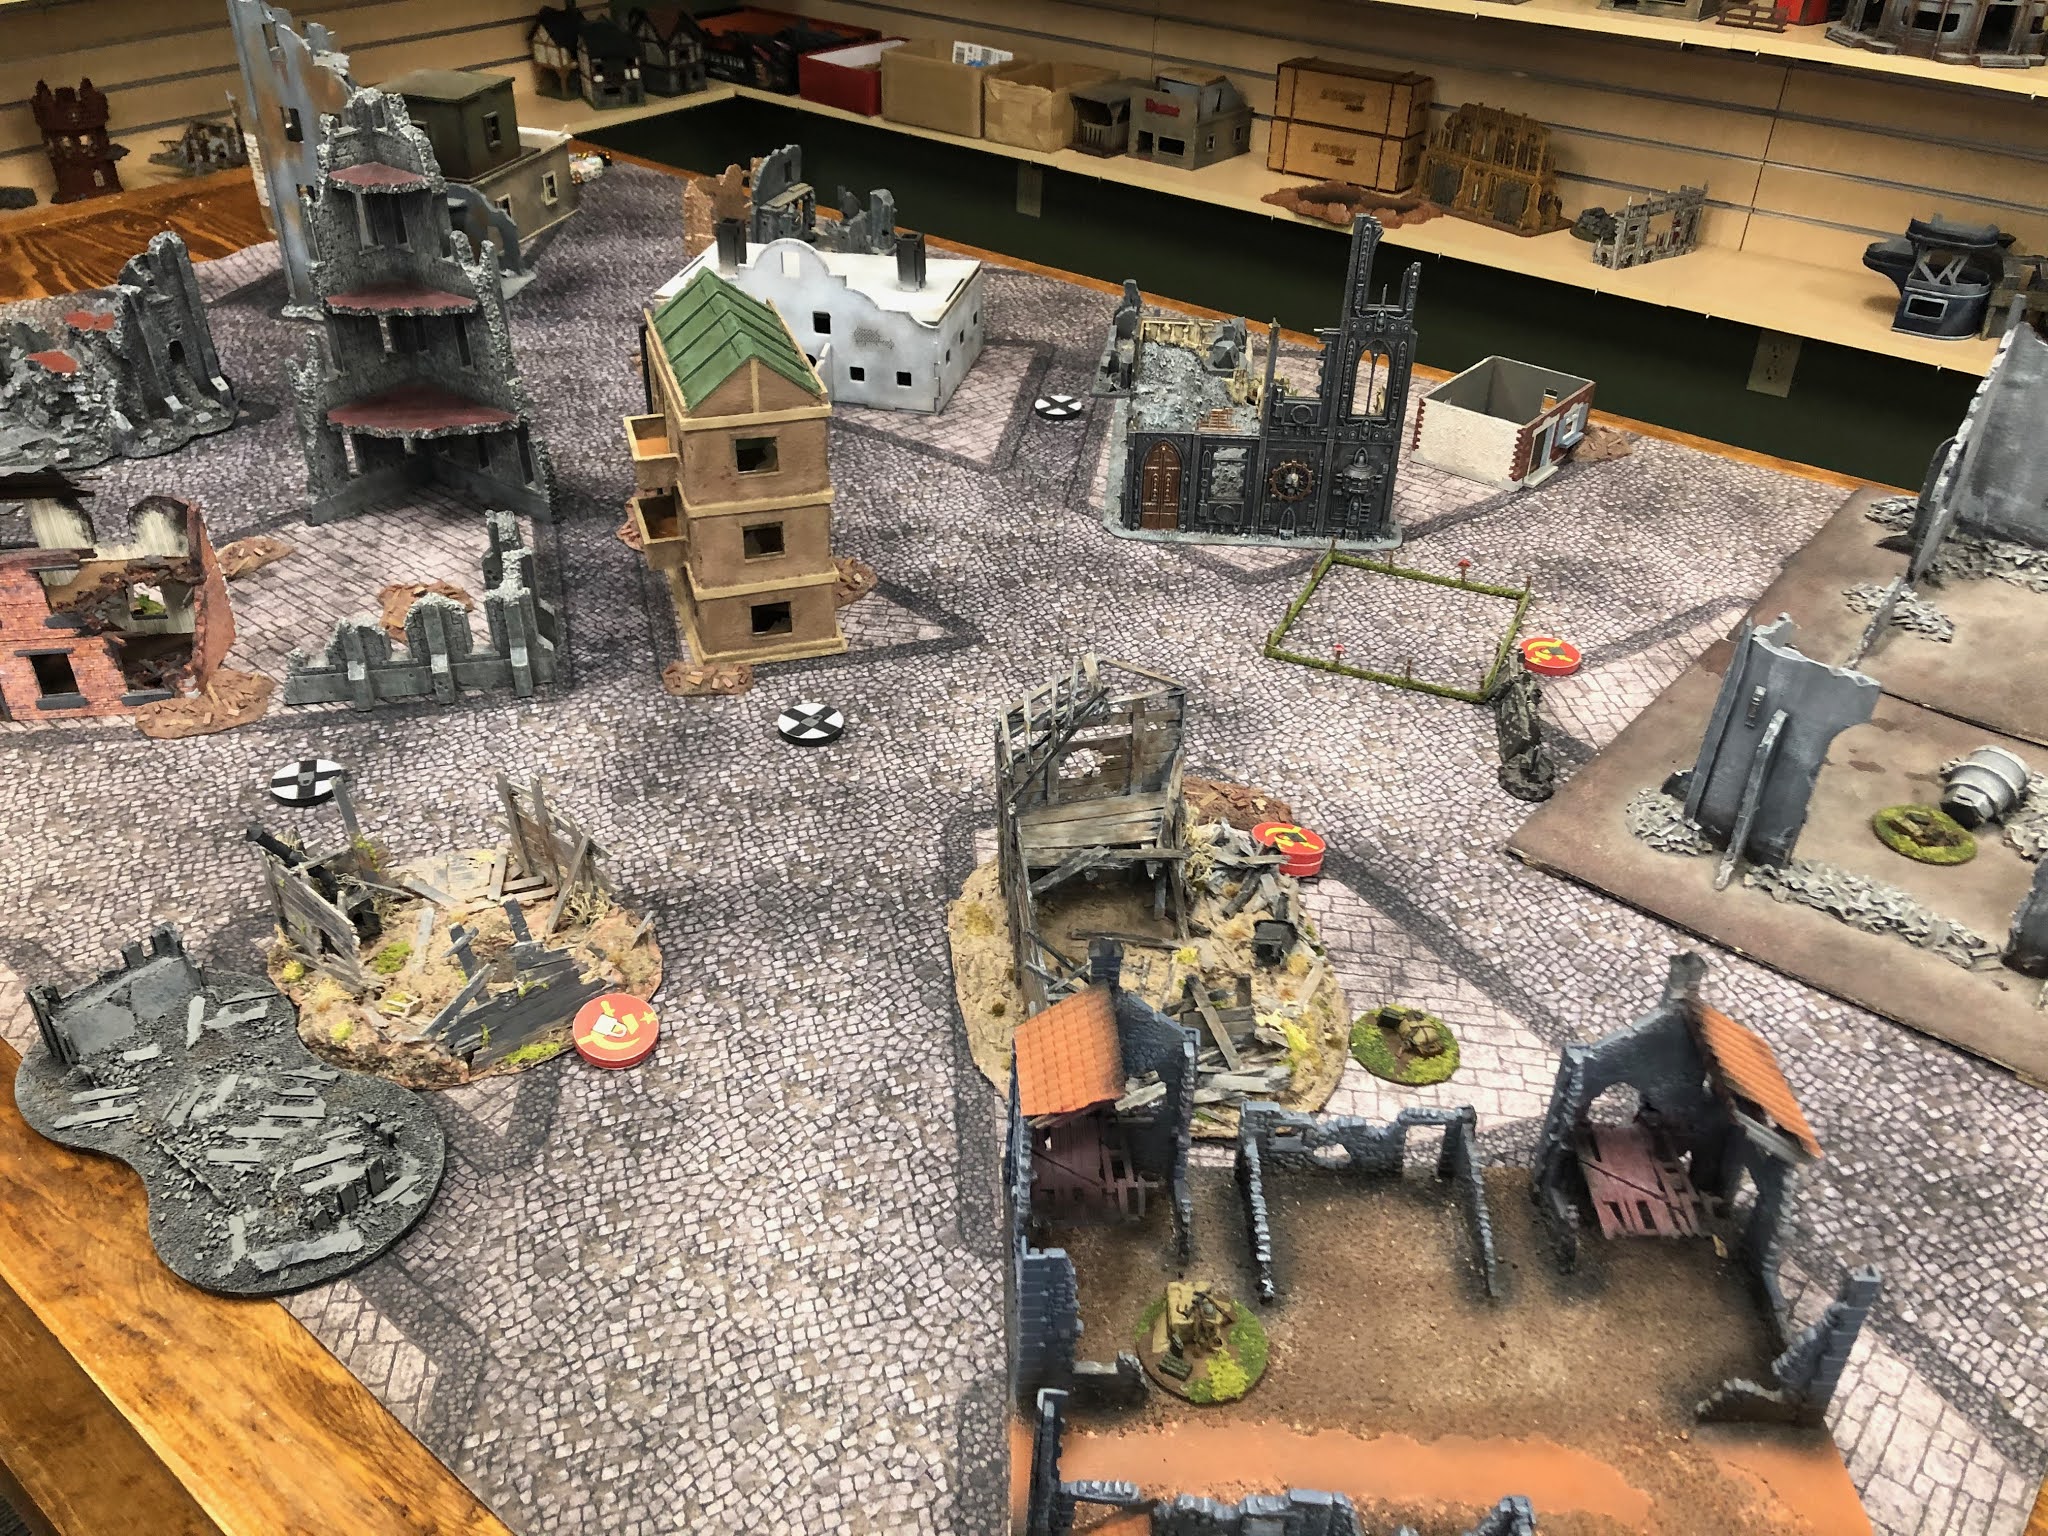 |
| The situation at the end of the patrol phase. The Soviets have a JOP in the factory on the right, behind the damaged wooden building in center right, and two in the worker's settlement at the bottom of the photo, one is just out of sight. The German objective is to take the one closest to the bottom of the screen. The Germans have JOPs behind the dark grey building at the top right of the photo, in the lower floor of the apartment block at middle left, and behind the damaged brick building on the far left of the photo. |
We left the Soviet minefield from the previous game in place, and I even calculated the support correctly this time. The Germans got four points to spend, the Soviets six.
I considered blowing almost all of my points on a tank and battering the Germans with a KV-1 again. They didn’t have the points to get any tanks that would be effective against the heavily-armored Soviet behemoth. But then, that wouldn’t be terribly sporting of me, and would limit the flexibility of my defense. I next considered taking entrenchments, as the factory on my right flank offered mostly only light cover. This slipped my mind however, and I bought another minefield for one point, a PTRD anti-tank rifle for two points, and a Maxim MMG for three points.
I was concerned about wasting points on the AT rifle when my opponent seemed unlikely to bring a tank, but my fears were well-founded when he spent all his points on an obsolescent Pz. III E. My KV1 would have had so much fun with that little thing!
The Germans started by deploying a squad in the rubbled building on their left, across from the factory I held, and another in the bottom floor of the central apartment complex, with the second squad placed on overwatch at the command of the German Oberfeldwebel.
 |
| The German first squad hits the field, out of sight of any of my JOPs. |
 |
| A second German squad appears in the bottom floor of the apartment building, with an LMG on overwatch facing the objective. You can see the new minefield I placed, in an attempt to funnel the German advance into the open streets. |
I kicked things off by rolling a double phase, but knew that deploying my SMG squads with only their LMGs in range was asking for trouble, so I held back.
In my second phase I gained a Chain of Command point and deployed my Maxim team on overwatch, peeking out of a hole in the wall of the worker’s settlement building - an ideal machine gun nest. EDITOR'S NOTE: This was a rules error, this team does not have a Junior Leader to place them on overwatch, and I don't have a leader nearby to order them to do so.
 |
| A Maxim MMG deploys, peeking out of the hole in the wall there to cover the main street and the end of the apartment block where the Germans have deployed. I've yet to make JOPs for my Soviets, so maybe this one is lend-lease. |
I also placed an SMG squad in overwatch in the wrecked wooden building in front of the worker’s settlement. In hindsight, these men were probably not very well placed, in the light cover of the wood structure, but they had good sight lines to either German avenue of advance and were able to stay mostly out of sight.

This time the Germans rolled a double phase, but wariness after his ill-fated assault last game and poor dice rolls led my opponent to pass the phase with no activity.
Next phase, he gained a Chain of Command point and ordered the Pz. III E to come clanking up the main road.
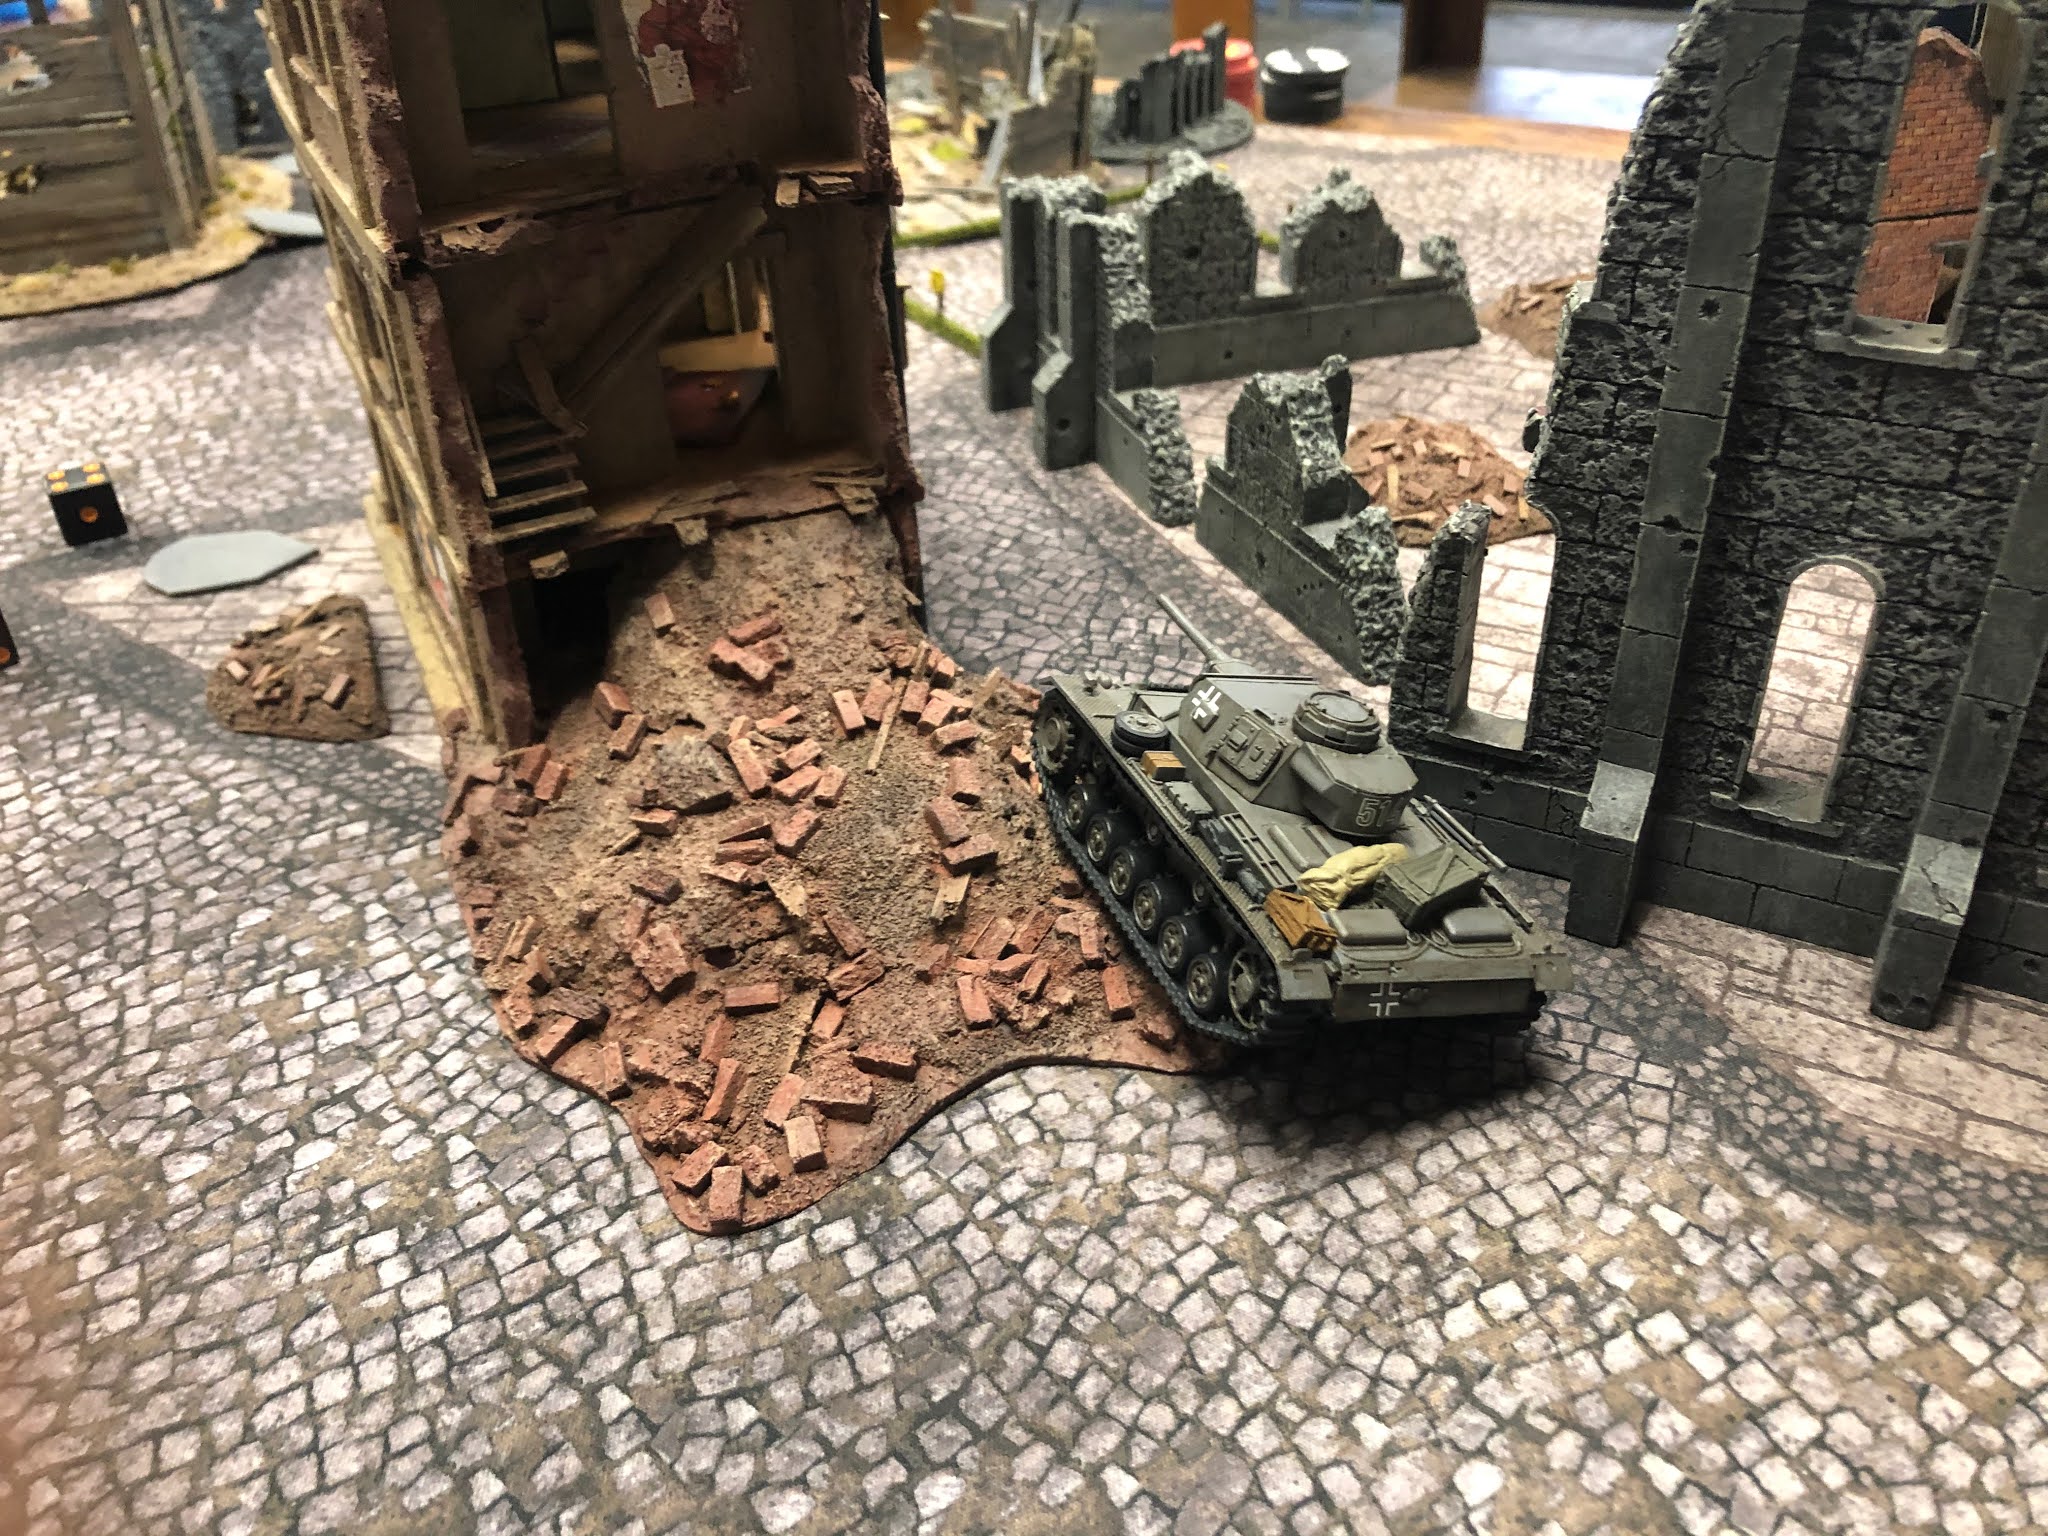
 |
| A Panzer III E (today being played by a Pz. III J) slowly advances up the main road. It still has a long way to go. |
I spent the next few phases not taking any actions other than accumulating CoC points that would let me take special actions when the time came. Meanwhile, the Pz. III advanced slowly down the main street toward Soviet lines, turning right near the apartment building to head toward the worker’s settlement.
 |
| "Driver, right turn! Mind the rubble!" |
I rolled a double phase or two here and wanted to deploy my AT rifle, but I rolled no 1’s that would let me get it on the table. Instead I brought on a second squad in overwatch in the factory, facing toward the first German squad, which was not yet in sight. This deployment may have been hasty, but I was concerned about getting rushed by the Germans like I had been in the previous game.
 |
| Soviets stand ready in the ruined factory floor on the right flank. |
Just as I had built up a full CoC die and was pondering how best to use it, the Pz. III came tearing down the alleyway by the apartment complex, firing its machine guns at my first squad in the wooden building, giving them two points of shock.
 |
| Soviet troops hunker down in their defenses as the panzer opens fire. |
I was unable to respond in my phase, still unable to roll any 1’s.
The panzer tried to fire again, but I played a CoC die and ambushed, springing into action with a hidden AT rifle. Their shot hit, but with equal hits and saves on the tank’s armor, it had little effect.
 |
| One 14.5mm bullet coming right up, Fritz! |
My opponent chose not to fire his second squad’s overwatch at my men, letting them beat a hasty retreat away from their ambush point. Despite my best efforts, the panzer’s machine guns still killed one of my men in the rickety wooden building.
On my phase, I finally rolled a 1 and redeployed my AT rifle in the cover of the worker’s houses. They must have been winded from retreating across the street, however, as they missed the Pz. III. In the meantime, my NCO in the wood house steadied his men, pulling some of their shock.
 |
| The PTRD team quickly redeploys and quickly misses. |
There was a pause then, as the Germans rolled three phases in a row but failed to do anything with the first two besides gathering CoC points. Were they stunned by the sudden anti-tank fire? Or did they merely have bad command dice rolls? You decide.
Finally, the Pz. III opened up on the PTRD team. However, I was able to split the fire to the nearby Maxim team that was also in heavy cover in the buildings, which took one man killed and one point of shock while the AT riflemen escaped any damage.

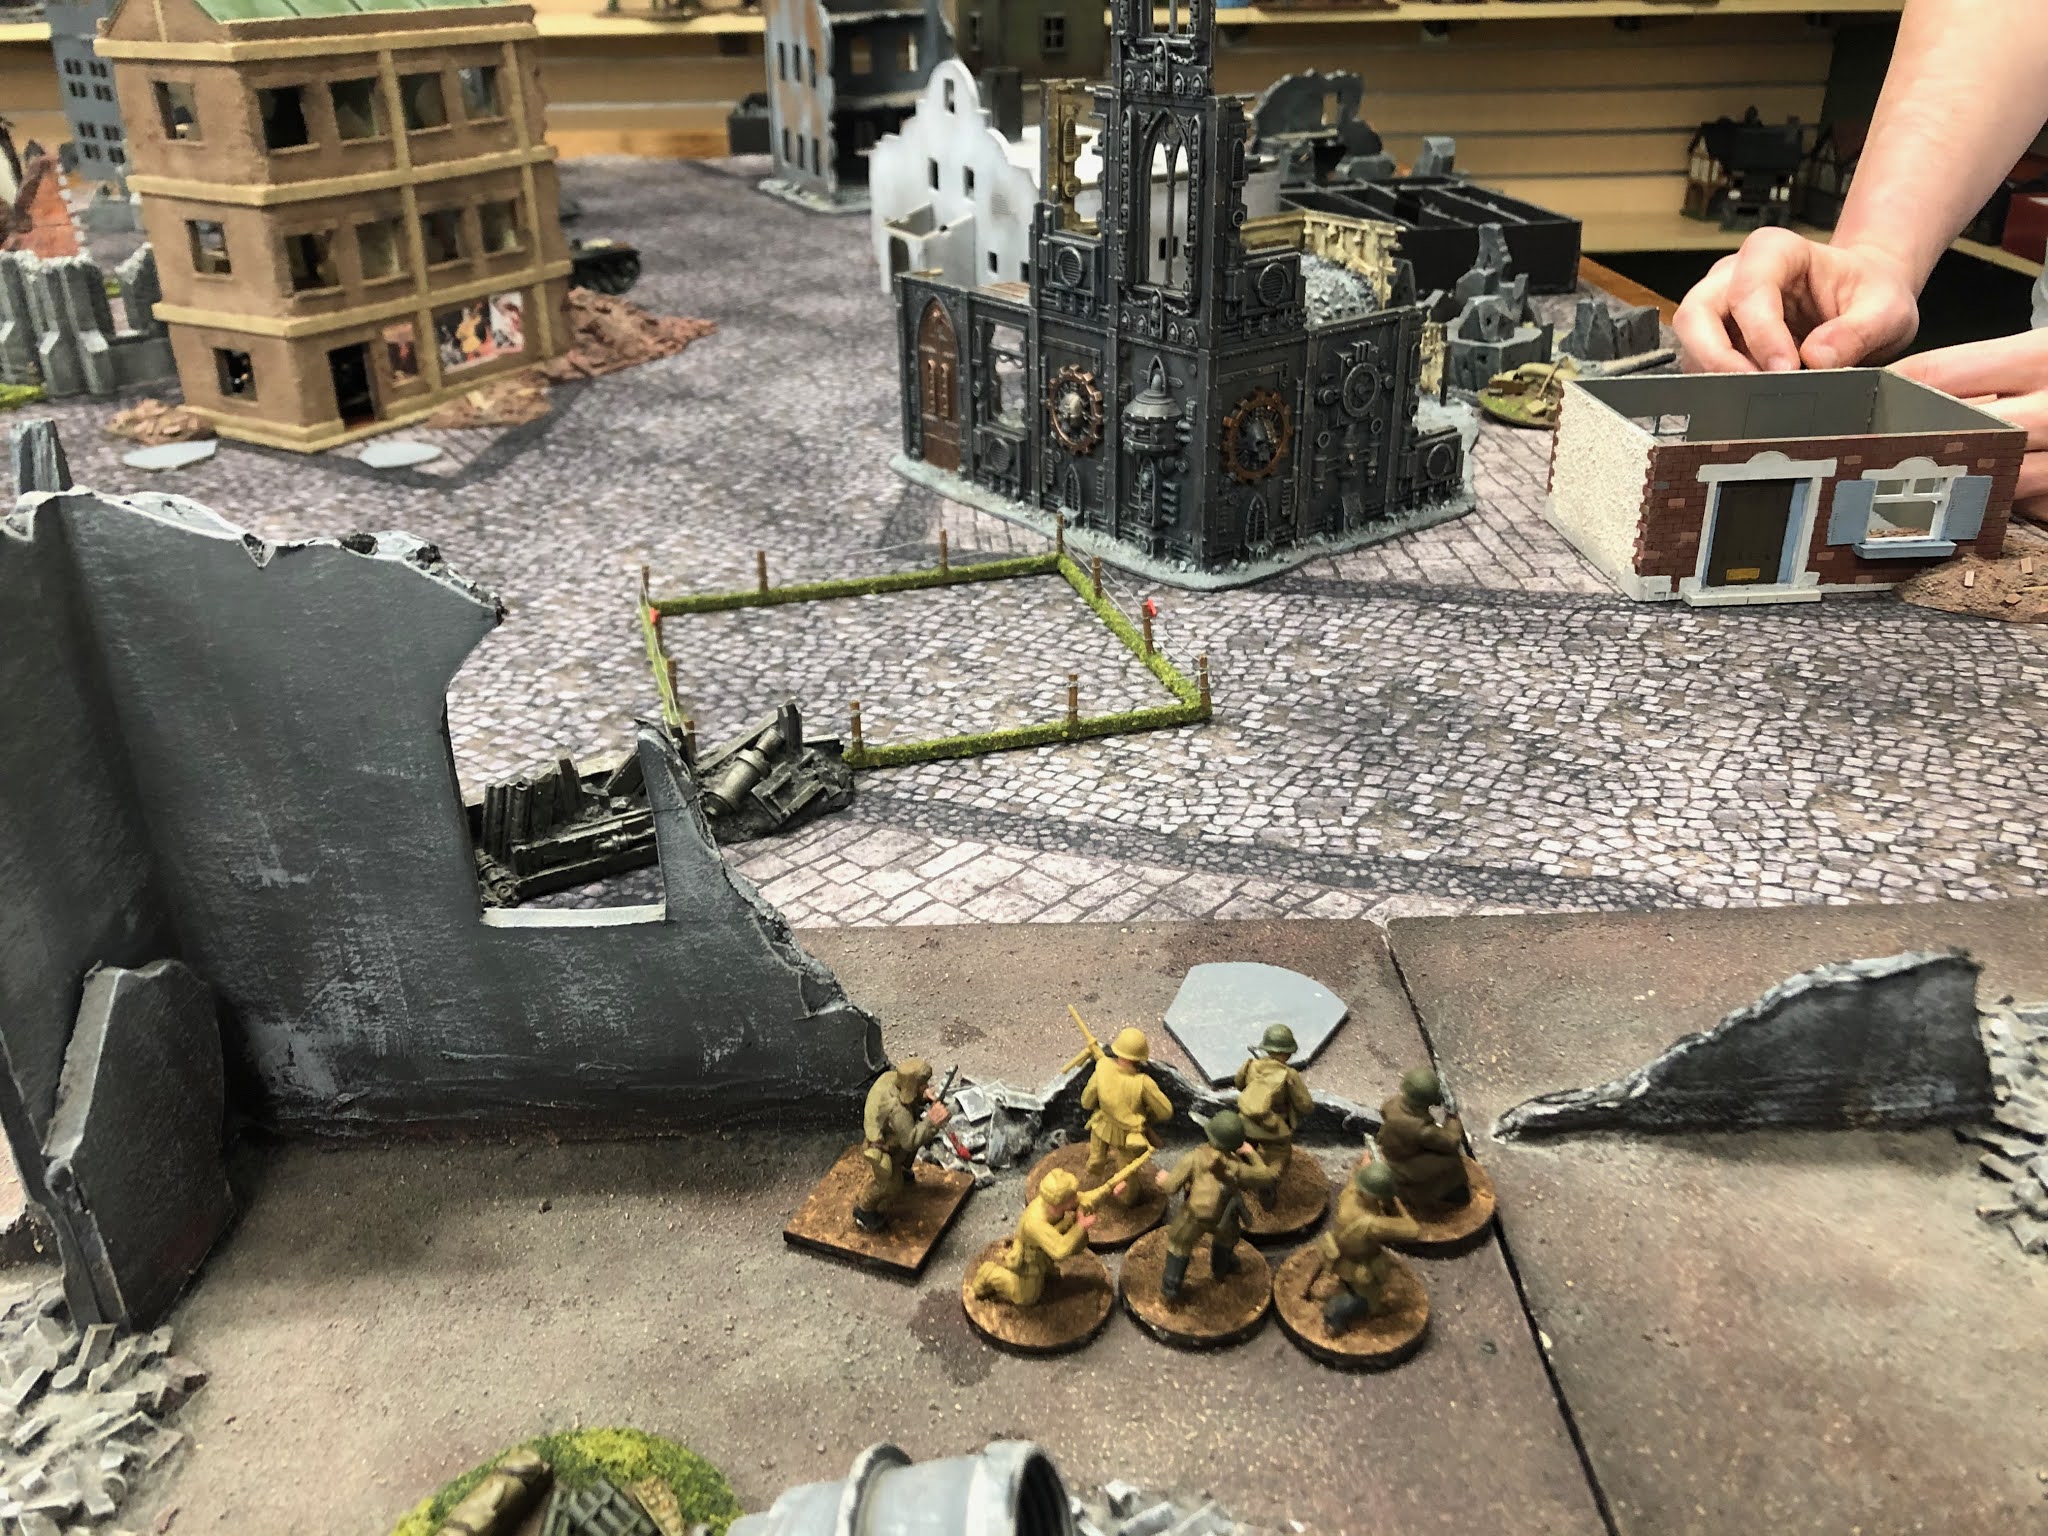
During this showdown, the third German squad came on, near their first squad. They appeared to be readying to assault the factory on my right flank, where one of my SMG squads lay in overwatch, despite the majority of its weapons being out of range from the buildings across the street.
 |
| The German third squad deploys. |
I ordered the AT rifle to fire again, but their 14.5mm bullet pinged harmlessly off the German armor. Growing impatient with the overwatch standoff on the left flank, I let rip with my Maxim and the LMG from the squad in the wooden building. Despite my best efforts, the 16 shots fired at the German LMG team in the bottom floor of the apartment resulted in just one point of shock. Of course, the German overwatch returned fire and put two points of shock on my first squad just to make me look bad.
 |
| An ineffective volley from the Soviets in the wooden building left the Germans with a single point of shock. |
The first squad of Germans finally advanced, climbing the rubble to a firing position on the second floor. I triggered my LMG’s overwatch from the factory and put a measly one shock on each German team.
 |
| The German first squad looks for a better firing position, at the cost of two shock. |
With my overwatch lifted, the German player tried to rush his third squad forward to a rubbled brick shop building, but a one-inch movement roll kept them from seizing the initiative.
The German second squad, in the apartment building, fired again at my first squad in the wood building, killing a man. The brittle nature of my SMG platoon was starting to show, as that squad was down to a JL and four men after barely any combat.
The Pz. III threw it in reverse and backed quickly down the alley, away from the AT rifle. As it whipped around the corner and back onto the main street, it fired its machine guns wildly at my second squad in the factory, rapidly dropping two points of shock on them.

 |
| With a squad headed their way and a tank firing at them, the Soviets in the factory start to wonder if their position is still tenable. This convinced me that the factory, with its demolished walls only offering light cover, was not as good of a place to hold as I thought. If only I had thought to dig those trenches. I ordered my second squad to pull back out of sight, their JL ordering them to do so tactically, bringing them up to the equivalent of heavy cover in the ruins. He also pulled a shock off. |
 |
| The Soviets seek cover in the ruins, going tactical. |
The AT rifle retreated further into the worker’s settlement, getting out of sight and attempting to reposition for another shot now that the tank had moved. The Maxim chattered away at the squad in the apartment, dropping one point of shock on them and giving their junior leader a minor wound that reduced his Command Initiative by one point. The LMG from the Soviet first squad fired at the same target, but had no effect. The wounded leader has no effect on German force morale, either.
This volley convinced my opponent not to stick around in the apartment, as the German second squad hastily piled out and fled up the street to cover in the rubble on the far end of the apartment block. Their platoon sergeant trailed behind, though, lingering in the doorway of the apartment.
 |
| The German second squad falls back, while the Oberfeldwebel lurks in the shadows of the apartment doorway, barely visible. The fact that he only has a coat of grey primer on him at the moment helps him stay camouflaged! |
In the next Soviet phase, I felt sure a German assault on the factory was imminent. The panzer had moved over toward that flank, and two squads of German panzergrenadiers lay in wait across the street. I deployed my last squad in a tactical stance, hiding in the rubble and awaiting the German advance. This would give me firepower for when the assault came and also allow me to split hits between squads if the Germans fired into the factory floor.
 |
| The last Soviet squad hits the table, clinging to the cover of the ruins as the German platoon prepares to assault their position. |
With all my troops deployed, my single Soviet SL came on in the middle of the worker’s quarters, energetically rallying shock from the Soviet first squad and the Maxim team nearby, urging them to hold their ground for the motherland and for ‘the boss’ (That’s Stalin, not Springsteen).
 |
| The Soviet Leytenant tries to organize the defense of the worker's settlement, juggling the tasks of pulling shock off the first squad, keeping the Maxim firing, and repositioning the AT rifle. |
In the German phase, the Pz. III turned 90 degrees and inched forward, engaging the Maxim team with HE, putting a shock on them.
 |
| The panzer keeps up the fire on the Soviets while the German second squad gets themselves in order. |
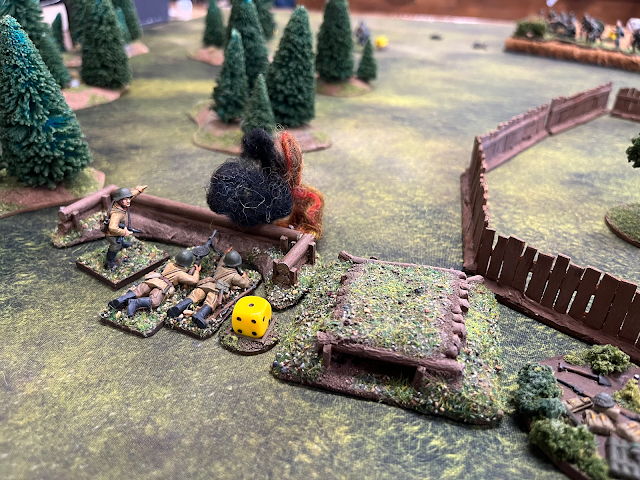
The German first squad, in their elevated position, fires at the Soviets in the factory, putting only one shock on the recently deployed Soviet third squad because of their tactical stance and light cover. The other German squad on that flank finally breaks into the back door of the ruined shop, but have trouble picking through the ruins and don’t get to a firing position this phase.

Finally, the German Oberfeldwebel catches up with the German second squad at the rear of the apartment building, but he makes the mistake of standing out in the street to rally shock off his men. My Maxim gunners load their weapon with malicious intent.
 |
| "Get moving, you men!" |
For the moment, however, my attention is elsewhere, rallying shock off my men in the factory and failing to return fire with the LMGs for fear of losing the extra cover of their tactical stance. To make up for this, the Soviet first squad moves to the other side of the wooden building, covering toward the other German squads.
 |
| The Soviets pick their way through the rubble to cover the German advance. |
This draws fire from the German MG34, which kills one man and injures their NCO, removing one of his CIs and causing Soviet force morale to drop one point. I could have used a Chain of Command die to avoid this roll, but I didn’t think of it. Besides, I’m only down one point, at eight morale.
 |
| The Soviet first squad, their numbers reduced and their JL wounded, attempts to repel what appears to be the main German assault. |
The Pz. III clanks back toward the objective, but does not fire. The German third squad, in the rubbled shop, opens up on the Soviets in the factory, killing a man in the Soviet first squad, wounding their JL, and killing two men in the Soviet third squad. Things are looking bad for the men holding the factory, but Soviet force morale holds steady despite the wounded JL.
 |
| German firepower starts to whittle down the Germans in the factory. |
In the Soviet phase, I have the platoon Leytenant pull a shock from the Maxim and order the PTRD to move at the double, removing the shock they would take for this rapid movement. However, they only move four inches, meaning they have to take up a less than ideal position in the ruins. But, they might just have an opening there.
 |
| "Fire, fire!" |
The Maxim fires at the lone German platoon sergeant - only three hits, and the leader ignores the two shock they put on him. Bad time for a poor Soviet firepower roll.
 |
| Maybe they couldn't hit him because he was so blurry! The focus of this shot shows you how well-concealed the Soviet Maxim position is - it's a shame they can't hit anything. |
In the German phase, the panzer turns toward the worker’s housing and starts to advance. I play a CoC die and interrupt, firing the PTRD at the tank’s side as it moves. The crew celebrates the hit, but quickly realizes that they have only put on a point of shock and damaged the tank’s gunsight.
 |
| More accurate fire from the PTRD puts a shock on the Panzer's crew and damages the gunsight. |
Completing its move after taking fire, the tank fires at the Maxim, dealing just one shock to the dug-in machine gun crew.
The German squads facing the factory open up this phase, managing to kill one Soviet from the third squad, which also takes two points of shock.
 |
| Further casualties and shock on the two small squads in the factory. |
Meanwhile, the German second squad forms up behind the panzer, moving slowly down the street toward their objective in the worker’s quarters.
 |
| Time for the panzergrenadiers to earn their Reichsmarks. |
I scramble to address the reinvigorated German advance, pulling back the Maxim on my phase to try and deploy it facing the street in front of the factory, but they don’t get far. With their prey moving again, the PTRD team shifts left, trying to find another opening as the tank advances with infantry in tow.
 |
| Well-laid defenses in the worker's settlement start to crumble as the Soviets struggle to react to the German assault. |
The battered Soviet third squad pulls a shock and tries to retreat tactically further into the factory, but goes nowhere due to a poor movement roll negated by the remaining shock. The Soviet squad in the wooden building tries to stand firm, pulling a shock.
But things look bad for the defenders of Stalingrad. A German double phase finally kicks off the assault, with the German third squad springing from the house and rushing across the street toward the factory floor. My submachine gunners seem too scared to react - the truth is, I used up my CoC die to fire at the tank, and they’ve been on tactical instead of overwatch because of the cover benefit.
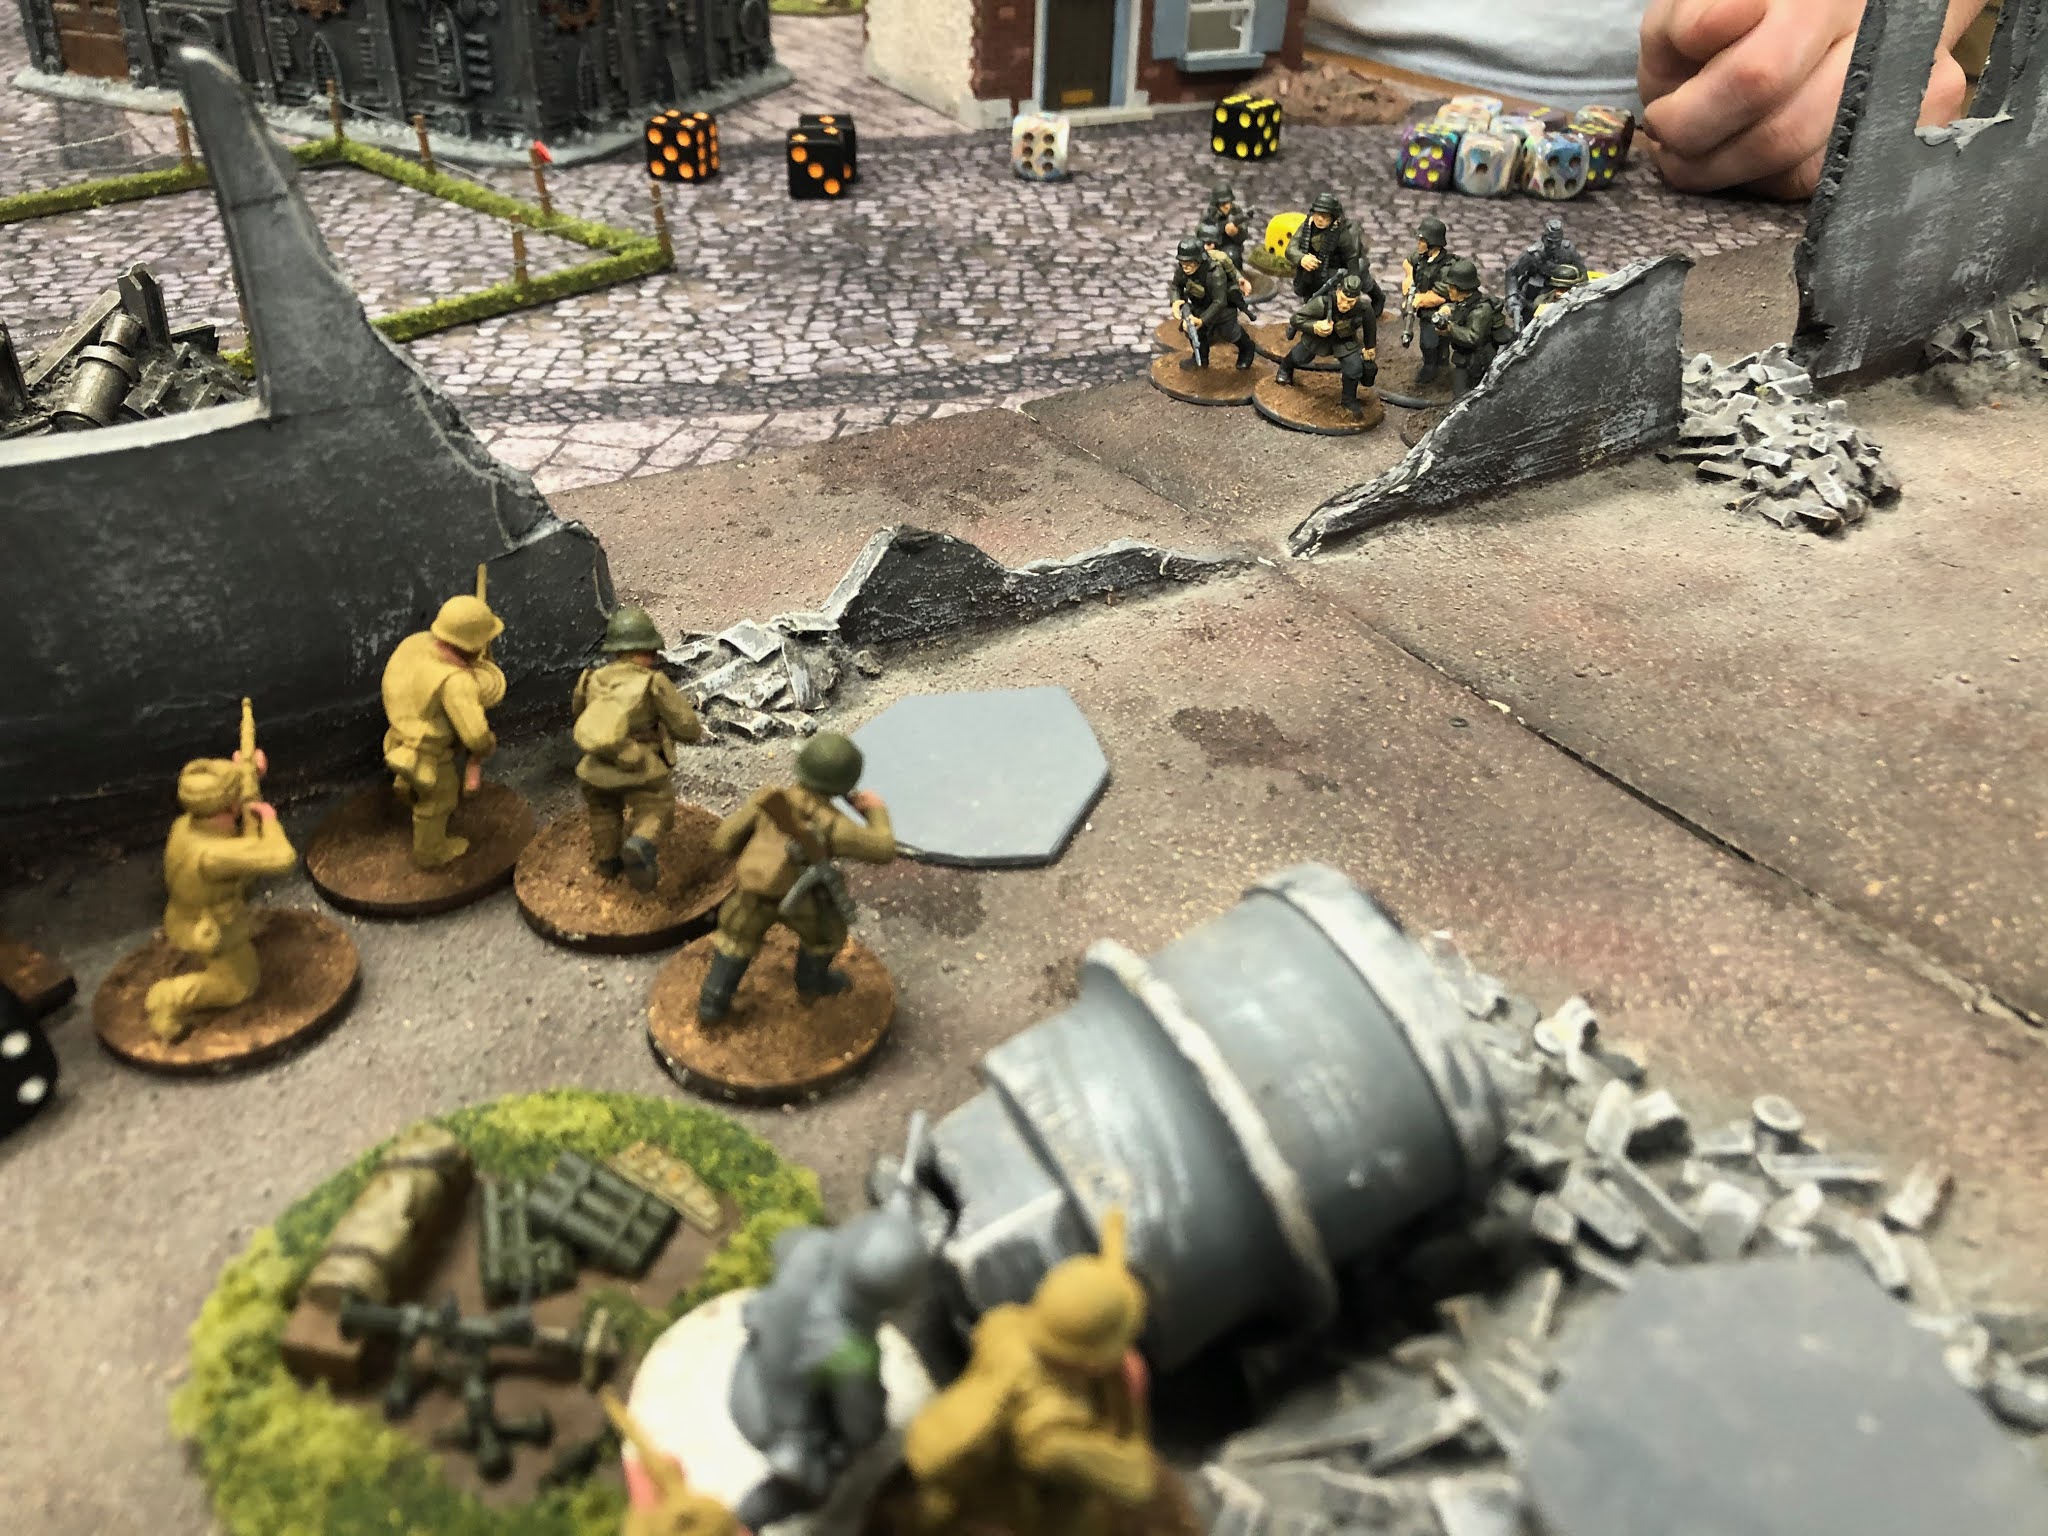 |
| "Here they come!" |
As that squad moves up, the first German squad pours fire into the factory, killing a man and putting a point of shock on the Soviet second squad.
Having reached the factory wall, the German third squad fires and throws a grenade, acting with fire support from the first squad across the street. This combined firepower kills another man from the Soviet third squad and applies a generous amount of shock to the two Soviet squads, which have both been whittled down to three men each with their leaders.

In the Soviet phase, the Maxim tries in vain to get into a firing position, but struggles to pick their way through the rubble. They find a hole, but can’t move and fire in the same turn.
 |
| Without some sort of fire support, the squads in the factory are done for. |
At the factory, the Soviets try to pour fire on the advancing German squad, but the German player interrupts, putting another shock on the Soviet second squad and killing another man from the Soviet third squad. In return, the Soviet squads inflict one kill and one shock on the Germans. Not good enough.
 |
| The Soviets in the factory prepare to make a last stand. |
Another German double phase, and I see any chance at a successful defense evaporate. My force morale is still at seven, but in a flurry of German firepower, the next two phases see my JL in the wooden house knocked out, his squad broken, and my two squads in the factory reduced to just the NCOs, both wounded. Soviet force morale collapses and they flee the table, abandoning the worker’s settlement they shed so much blood to defend.
 |
| The broken Soviet first squad flees to the safety of the worker's settlement, dragging their twice-wounded JL with them. They've had enough. |
 |
| In an instant, the only living Soviets in the factory are two NCOs, both of them wounded (their markers were removed by this point). Even hardened veterans with SMGs are not going to be any match for the onrushing Germans. |
After Action Report
I think my opponent really figured out how to handle my SMG platoon after the last game, realizing that he needed to chip away at them from a distance before closing in. I freely admit that I got a little bored in the middle of this game, realizing that he had discovered the best tactic was to slowly pick off my helpless SMG gunners and that I was unlikely to be able to hold. But that is the peril of the Soviet SMG platoons.
At the end of the day, the Soviets lost one man from the Maxim team and 16 from the core platoon, with two squads totally wiped out. Every junior leader was wounded, but all of them survived.
In exchange, the Germans took only a handful of casualties. I believe I counted one dead, with one JL wounded. The tank was only lightly damaged, despite my best efforts.
I believe I deployed to the best of my abilities, but I let myself lose the patrol phase too easily and I let myself be goaded into deploying my fragile SMG squads far too early. They are a high-risk high-reward unit. I regret not bringing a tank!
Comments
Post a Comment