Over the last week or two, I've been working on sprucing up this 1/72 scale Russian izba by Pegasus to add to my rural Russian terrain.
This is a plastic multipart kit with some nice textures on the wood that make for great drybrushing detail.
I was very cautious of the scale - sometimes 28mm/1/56 scale buildings can be rather small, let alone 1/72 scale. Here are some Warlord plastic Soviets for scale. If you look too close, it seems a little off, but I think it'll do just fine. I think it's believable that a very rural building might not have large and lavish doors and windows.
The walls go together very nicely. The roof is a little more complicated - it's meant to sort of hook into the walls and it's quite snug. I ended up modifying it quite a lot to make it easily removable. The central beam is also not terribly sturdy, in my opinion.
I set about tinkering and modifying it to fit my needs, starting by filling the gaps in the side walls left by the assembly. A small detail, easily fixed with some green stuff putty and a sculpting tool.
Next, the roof. The molded thatch texture is... well it's okay. I wouldn't fault anyone for using it as-is, but I slapped some strips of cut-up old towels on to make some much more convincing thatch.
I stuck it on a base cut from MDF hardboard and decided that it needed at least one added internal wall to correspond with the logs on the outside of the structure. I got fairly lazy with this, just slapping in some foamcore board covered with spackle. It does the job, I think. There is a good-enough spackle texture molded on to the inside of the walls, so that's a nice touch.
Before priming it up, I added some trim to the windows, cut from thick card from a box of crackers. Easy enough with one simple tool.
You see these types of decorations on many Russian rural homes, and I think they add a little something-something.
The paint scheme was fairly simple. The thatch got multiple heavy coats of browns and tans, building up to straw-colored highlights that I think really make that texture pop. I did use a wash, but I don't really recommend that. It just took even longer for the towel strips to dry. Later I painted the chimney a basic brick color and added some moss to the thatch with a paste made of foam flock and PVA glue, which I think was a nice touch.
I slapped some beige on the floor inside and painted the plaster inside off-white.
The log walls are just a basic brown, a dark wash, then brushed up with lighter browns and khaki to reflect aging unpainted wood. The windows got a pale blue, a lighter wash, and some highlighting with blue-grey.
I threw some flock on the base and a couple other details and bam.
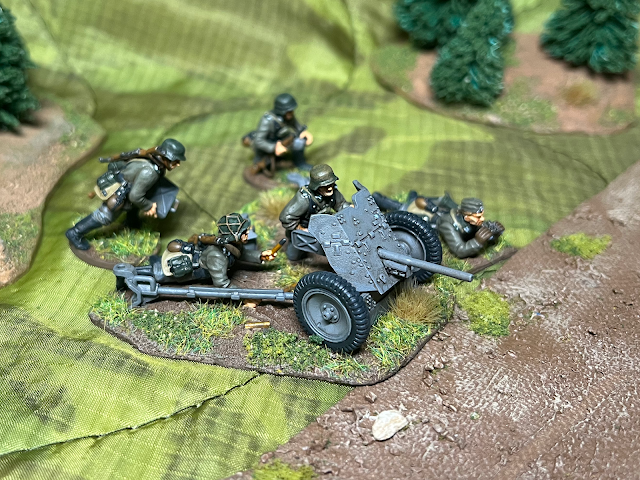
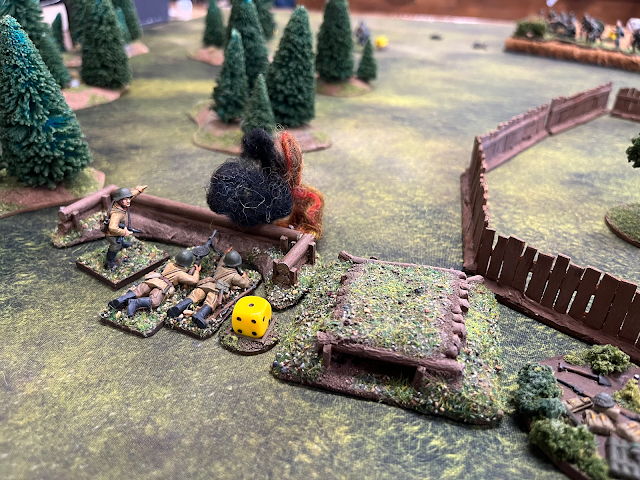
With some Germans and a few other terrain pieces to give a sense of scale.
I also painted up some plastic livestock from Warlord. I think these might be Renedra sculpts, but I can't be sure. The sculpts are a little low-detail and smooth, and the cows aren't my best paint work, but I really like the sheep and pigs, for whatever reason.
A few more beauty shots - I will eventually get these Germans based up and a post made. They've been otherwise finished a week or two now.


Comments
Post a Comment