In my ongoing quest to flesh out my terrain collection, I tried out a method for making rivers that I saw from a guy named Matt Harvey on Facebook. I put my own spin on it, but the idea is essentially his and I am grateful for the inspiration!
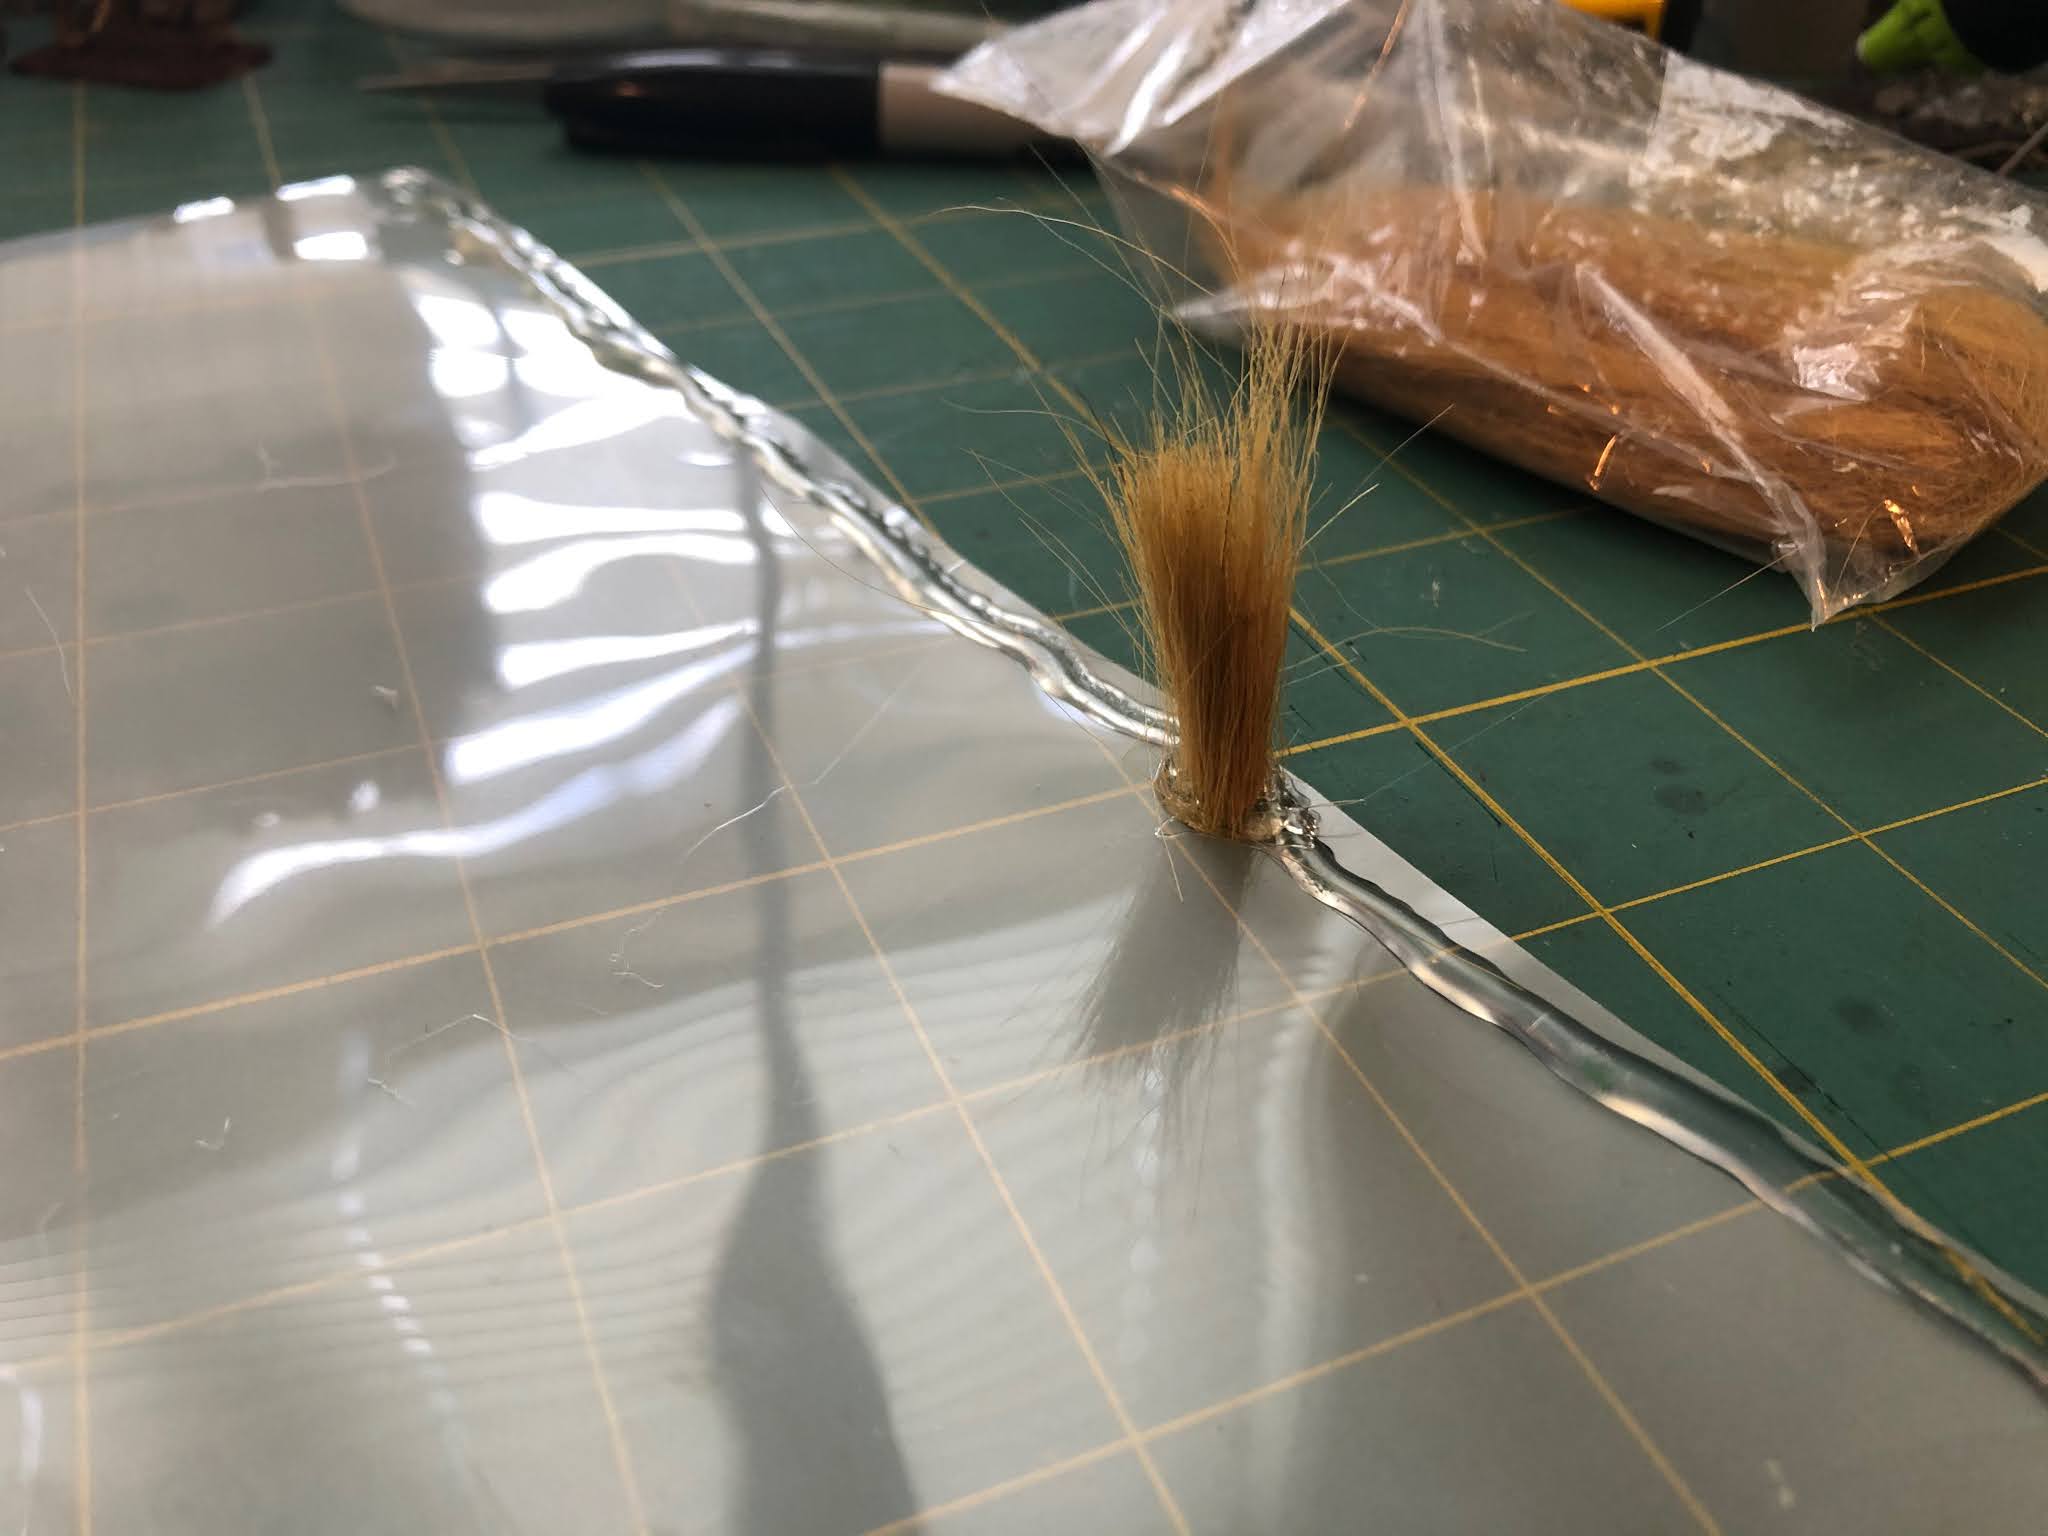
The key element here is a thin sheet of flexible transparent plastic. I don't think it would have to be transparent, but it helps. Harvey used stencil templates, I used lamination sheets.
Cut the shapes you want from the sheets - 12 inch and 6 inch segments would be ideal, I think, but because of the 8.5x11 size of these sheets it made the most sense to do 10-inch lengths. I choose approximately 5 inches wide, as that seems to present a significant obstacle to 1/56 scale vehicles while also not taking up too much table space. I also cut some curves, which ended up fairly irregular. I don't really think 90-degree river bends look right, so I tried to avoid them.
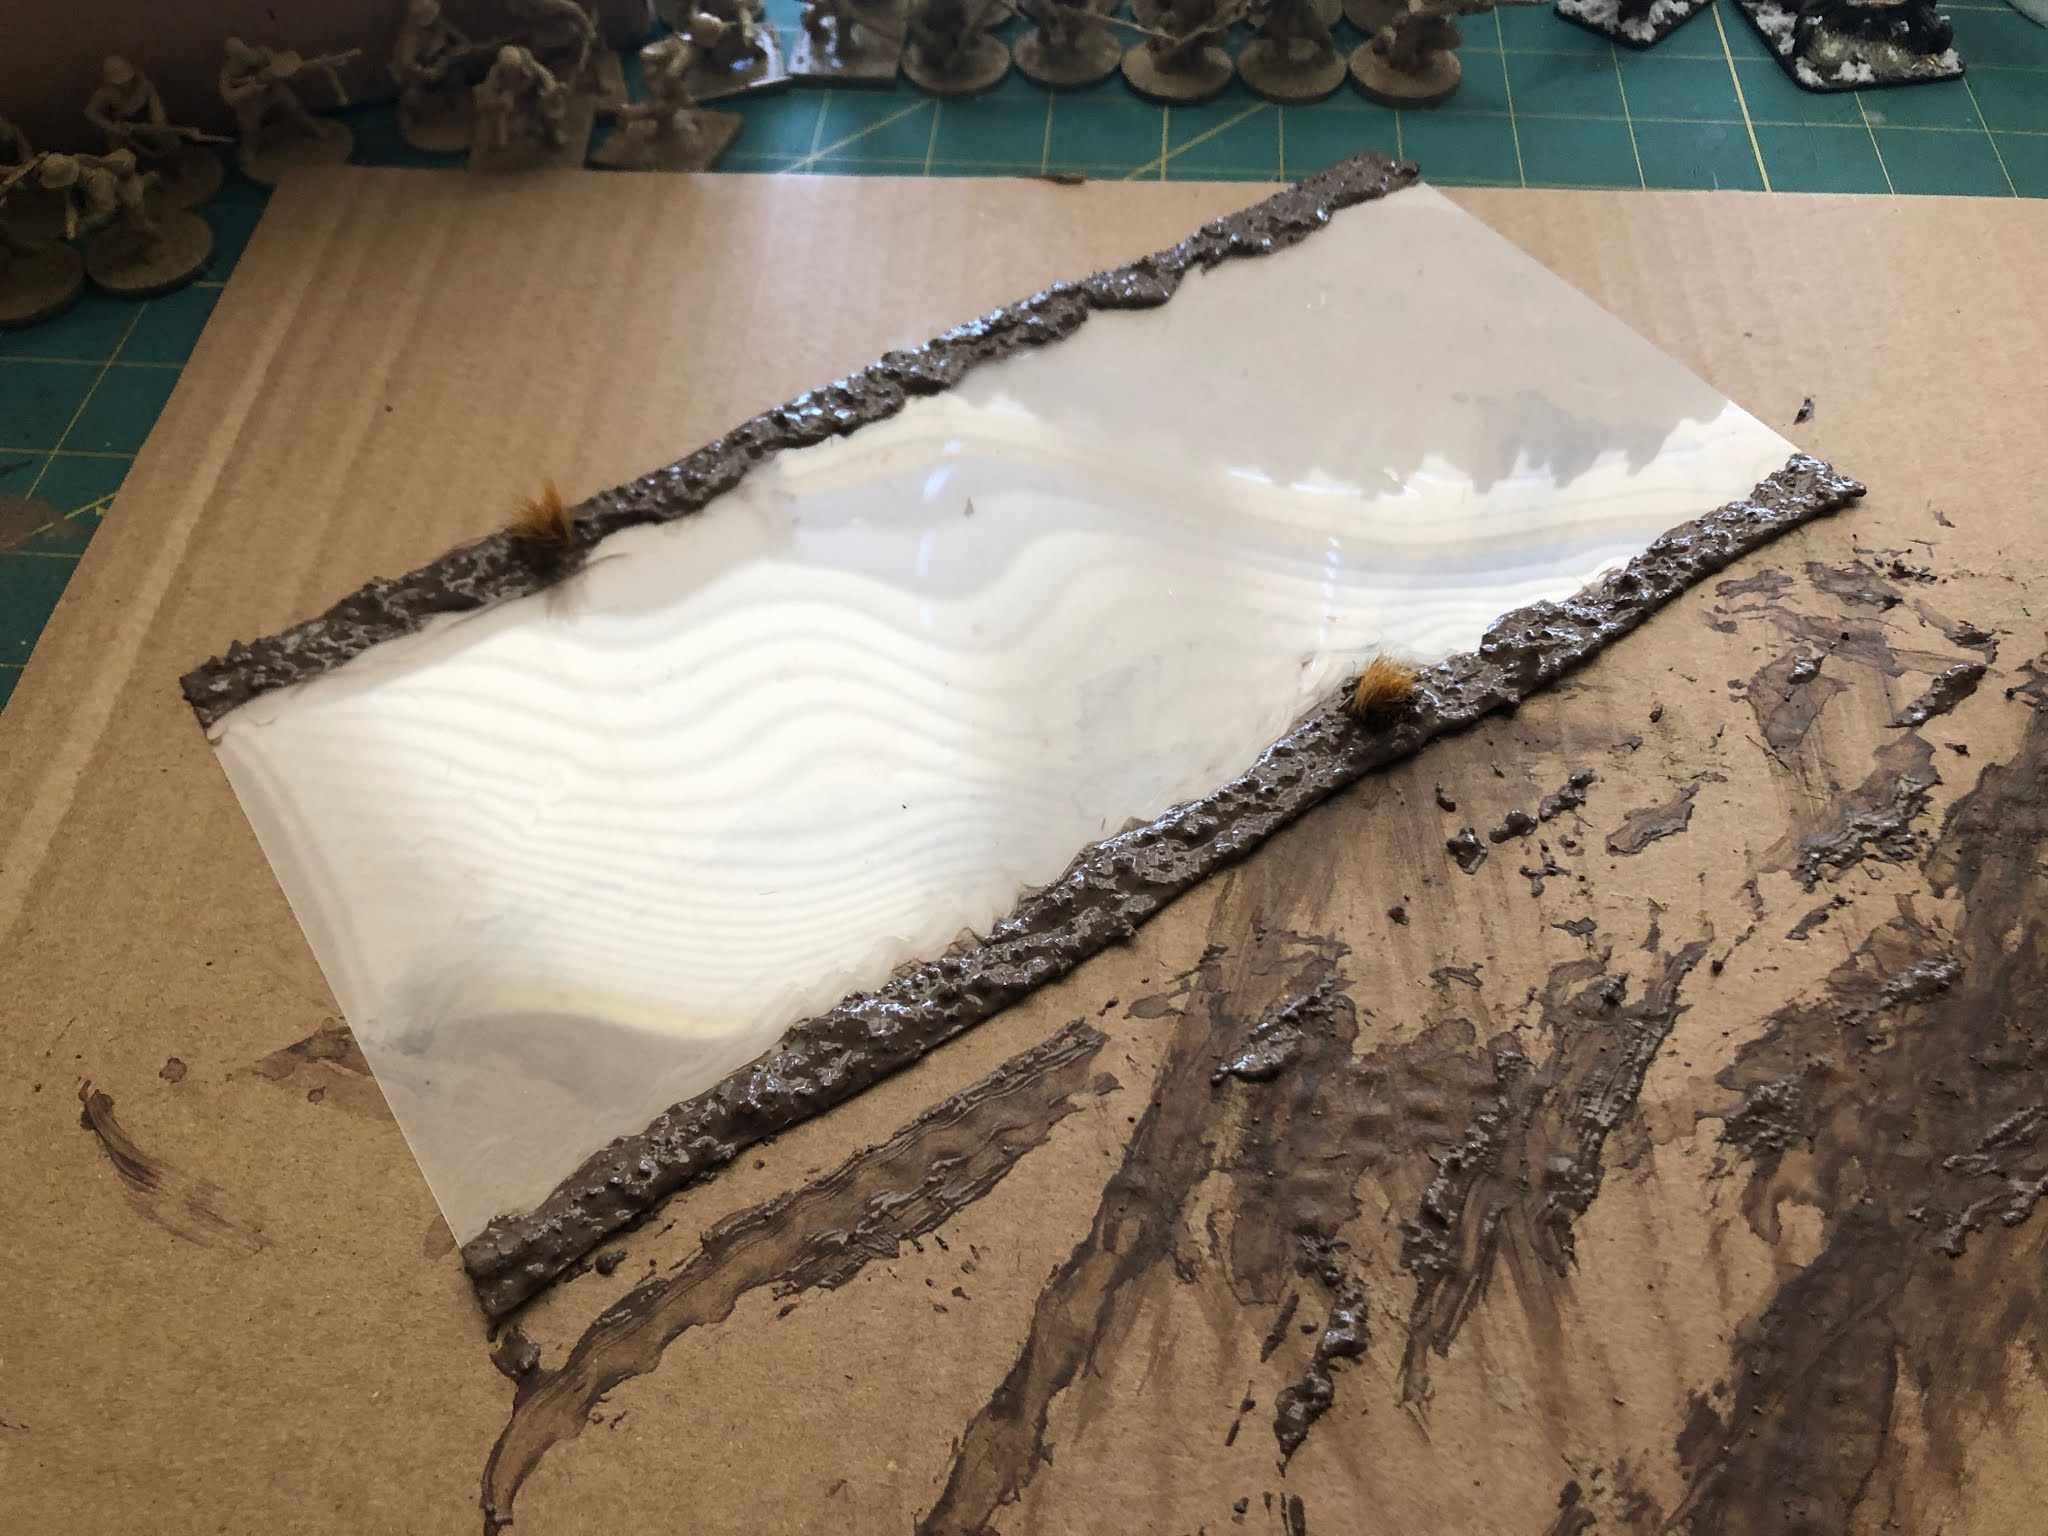
I used hot glue to build up the height of the riverbanks. I'm not sure you would have to do this, but it helps outline where the caulk will go later and save a bit of caulking.
I stuck grass tufts in at this point. You could probably do this during the caulking phase, but the hot glue sets faster and holds the strands in place better. I trim this to size later.
The trick to this method is brown acrylic caulking. Now, I think the caulking I bought is latex-based, but it still worked. You could also use white caulk with brown paint mixed it (that's what I did with my modular roads, which are very similar to this).
The first method to doing this is to squeeze the caulk directly on the edges of the river sections, then add rocks and sprinkle sand on top of it. I used a stick to form the caulk and make it look more organic.
With my second batch, I tried putting the caulk into a small container, mixing in a little water, some sand/ballast, and then used a stick to spread it on. I used too much water so this got extremely messy, but both methods work. Whichever method you choose, I recommend putting down some paper or cardboard, as this caulk sticks to your cutting mat.
When the caulk is dry, it's time to do some painting, giving the illusion of water. I used cheap craft paints and put down a green base before working up a variety of blues to give make a blueish-green tone, with more green and light blue near the banks where the water would be shallower and more dark blue near the middle where the water would be deeper.
My second batch of river segments ended up with a little more dark blue in the center, but they work just fine together and would be easy to tweak, in my opinion.
I also did one segment that was a shallow ford, with patches of sandy ground and rocks sticking up in the middle. I didn't get a good picture of it during the build process but you should be able to see it later in the beauty shots.
Two heavy coats of gloss Mod Podge give the rivers the right look. Obviously they're not as compelling as building up detailed riverbanks and doing a resin or model water pour, but they're quick, fairly cheap, and they sit flat on the table instead of rising above it, which is a terrain pet peeve of mine that I avoid whenever I can.
I recommend doing these assembly-line style. It's efficient and you can contain the mess more easily.
Here you can also see some small marsh segments, which I didn't end up getting a great picture of. They just got the base coat of green paint without the blue the rivers got. They look acceptable but I'm not entirely pleased with them.
Give the river banks a quick drybrush with a khaki or tan to add some definition and you're basically good to go. You could also add sticks and other junk as logs, or add more grass tufts. I intend to flock the riverbanks, but didn't have the time.
The Mod Podge dries clear, but if you wanted a more white water look you could certainly get that with white paint in between Mod Podge coats or by using Vallejo's water texture paste.
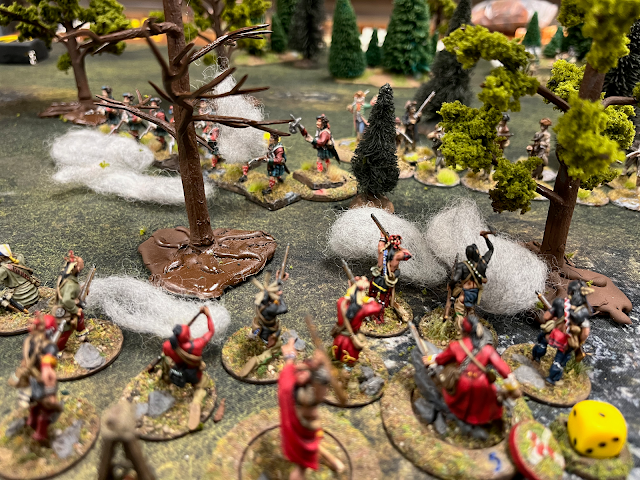
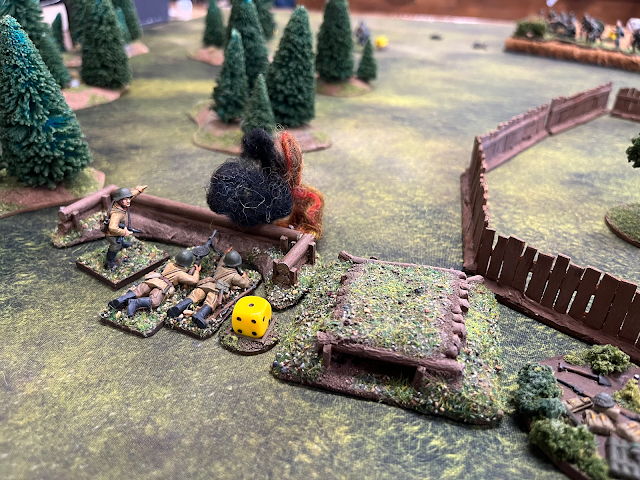
Here you can see the ford in use during a patrol phase of Chain of Command.
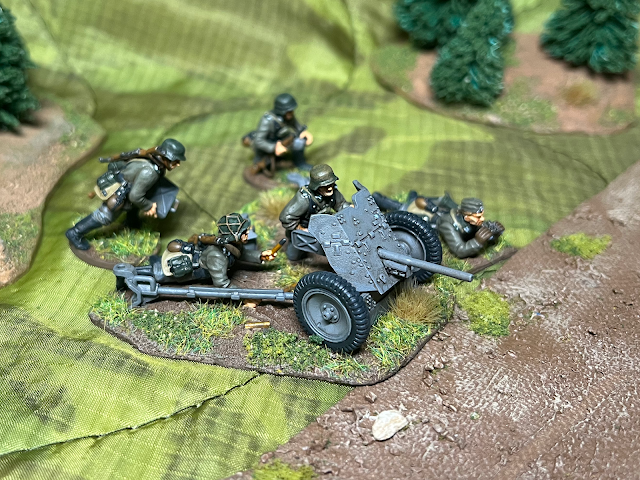
We all thought this was a very scenic table - The trees, rivers, roads, fields, hay bales, and houses are all my scratch-built terrain, so you can see how the collection is growing.
These also work perfectly well for a winter setting, and 5 inches seems about right for most wargaming bridges.


Comments
Post a Comment